How To Plant A Tree In Your Yard by Guest Writer Philip Brown

How To Plant A Tree In Your Yard

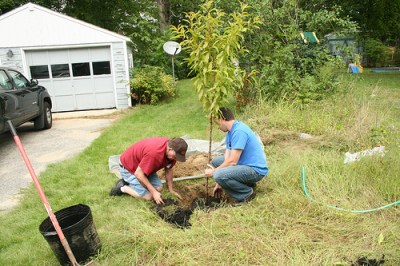
Planting a tree is not just a matter of digging a hole and dropping it in. If you want your tree to have healthy growth, then that will require patience and careful preparation. Take a look at these steps for how to grow a strong and healthy tree in your yard.

  • Choose the species carefully and plant at the right time of year. Select a species that is native to the area. Plant your tree during its dormant phase, which is usually over the winter, somewhere between late autumn and early spring. This will allow it to establish itself in time for the growing season.medium_4975718208
  • Choose a site for your tree. Make sure to avoid any cables or pipes and to choose a sunny area. Dig a hole that is about 5 times the width of the tree’s root ball so that it has plenty of space to spread its roots. Dig the hole with a raised section in the center for the root ball to sit on – this will keep it out of any water that may collect and in turn stop the tree from drowning. Loosen the dirt around the edges of the hole to allow the roots to spread out more easily.
  • Remove the tree from its container by gently tipping it out of the pot or cutting the side of the bag from the roots. You can leave a mesh container on as the roots will grow through the holes and it will help keep the soil together. Remember, you want to keep as much of the existing soil on the root ball as possible. As you are handling the tree, be sure not to leave the roots exposed to the sun or wind as they may get dried out and damaged.
  • Plant the tree. Place the tree in the hole and check the height. All of the roots should be covered, but the trunk should remain fully exposed. Add some manure into the hole to feed the tree as it grows, and add water. Mulch around the tree to keep weeds away and moisture in, but take care not to touch the tree trunk with the mulching or it could rot. Water again after an hour or so. Then water regularly until the tree is fully established.
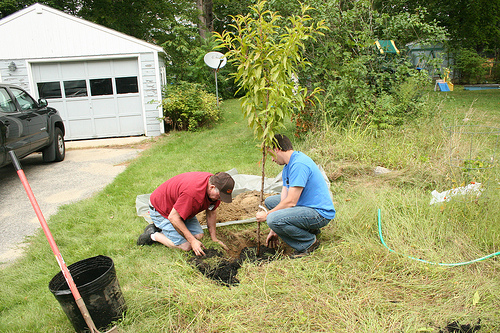
With a little bit of planning and some care, you will have a tree that will last for many years.

About the Author: Philip Brown is a lover of green, healthy lawns. A former lawn care professional, Philip now spends his time sharing what he knows with others and blogging about it at The Lawn Enthusiast.
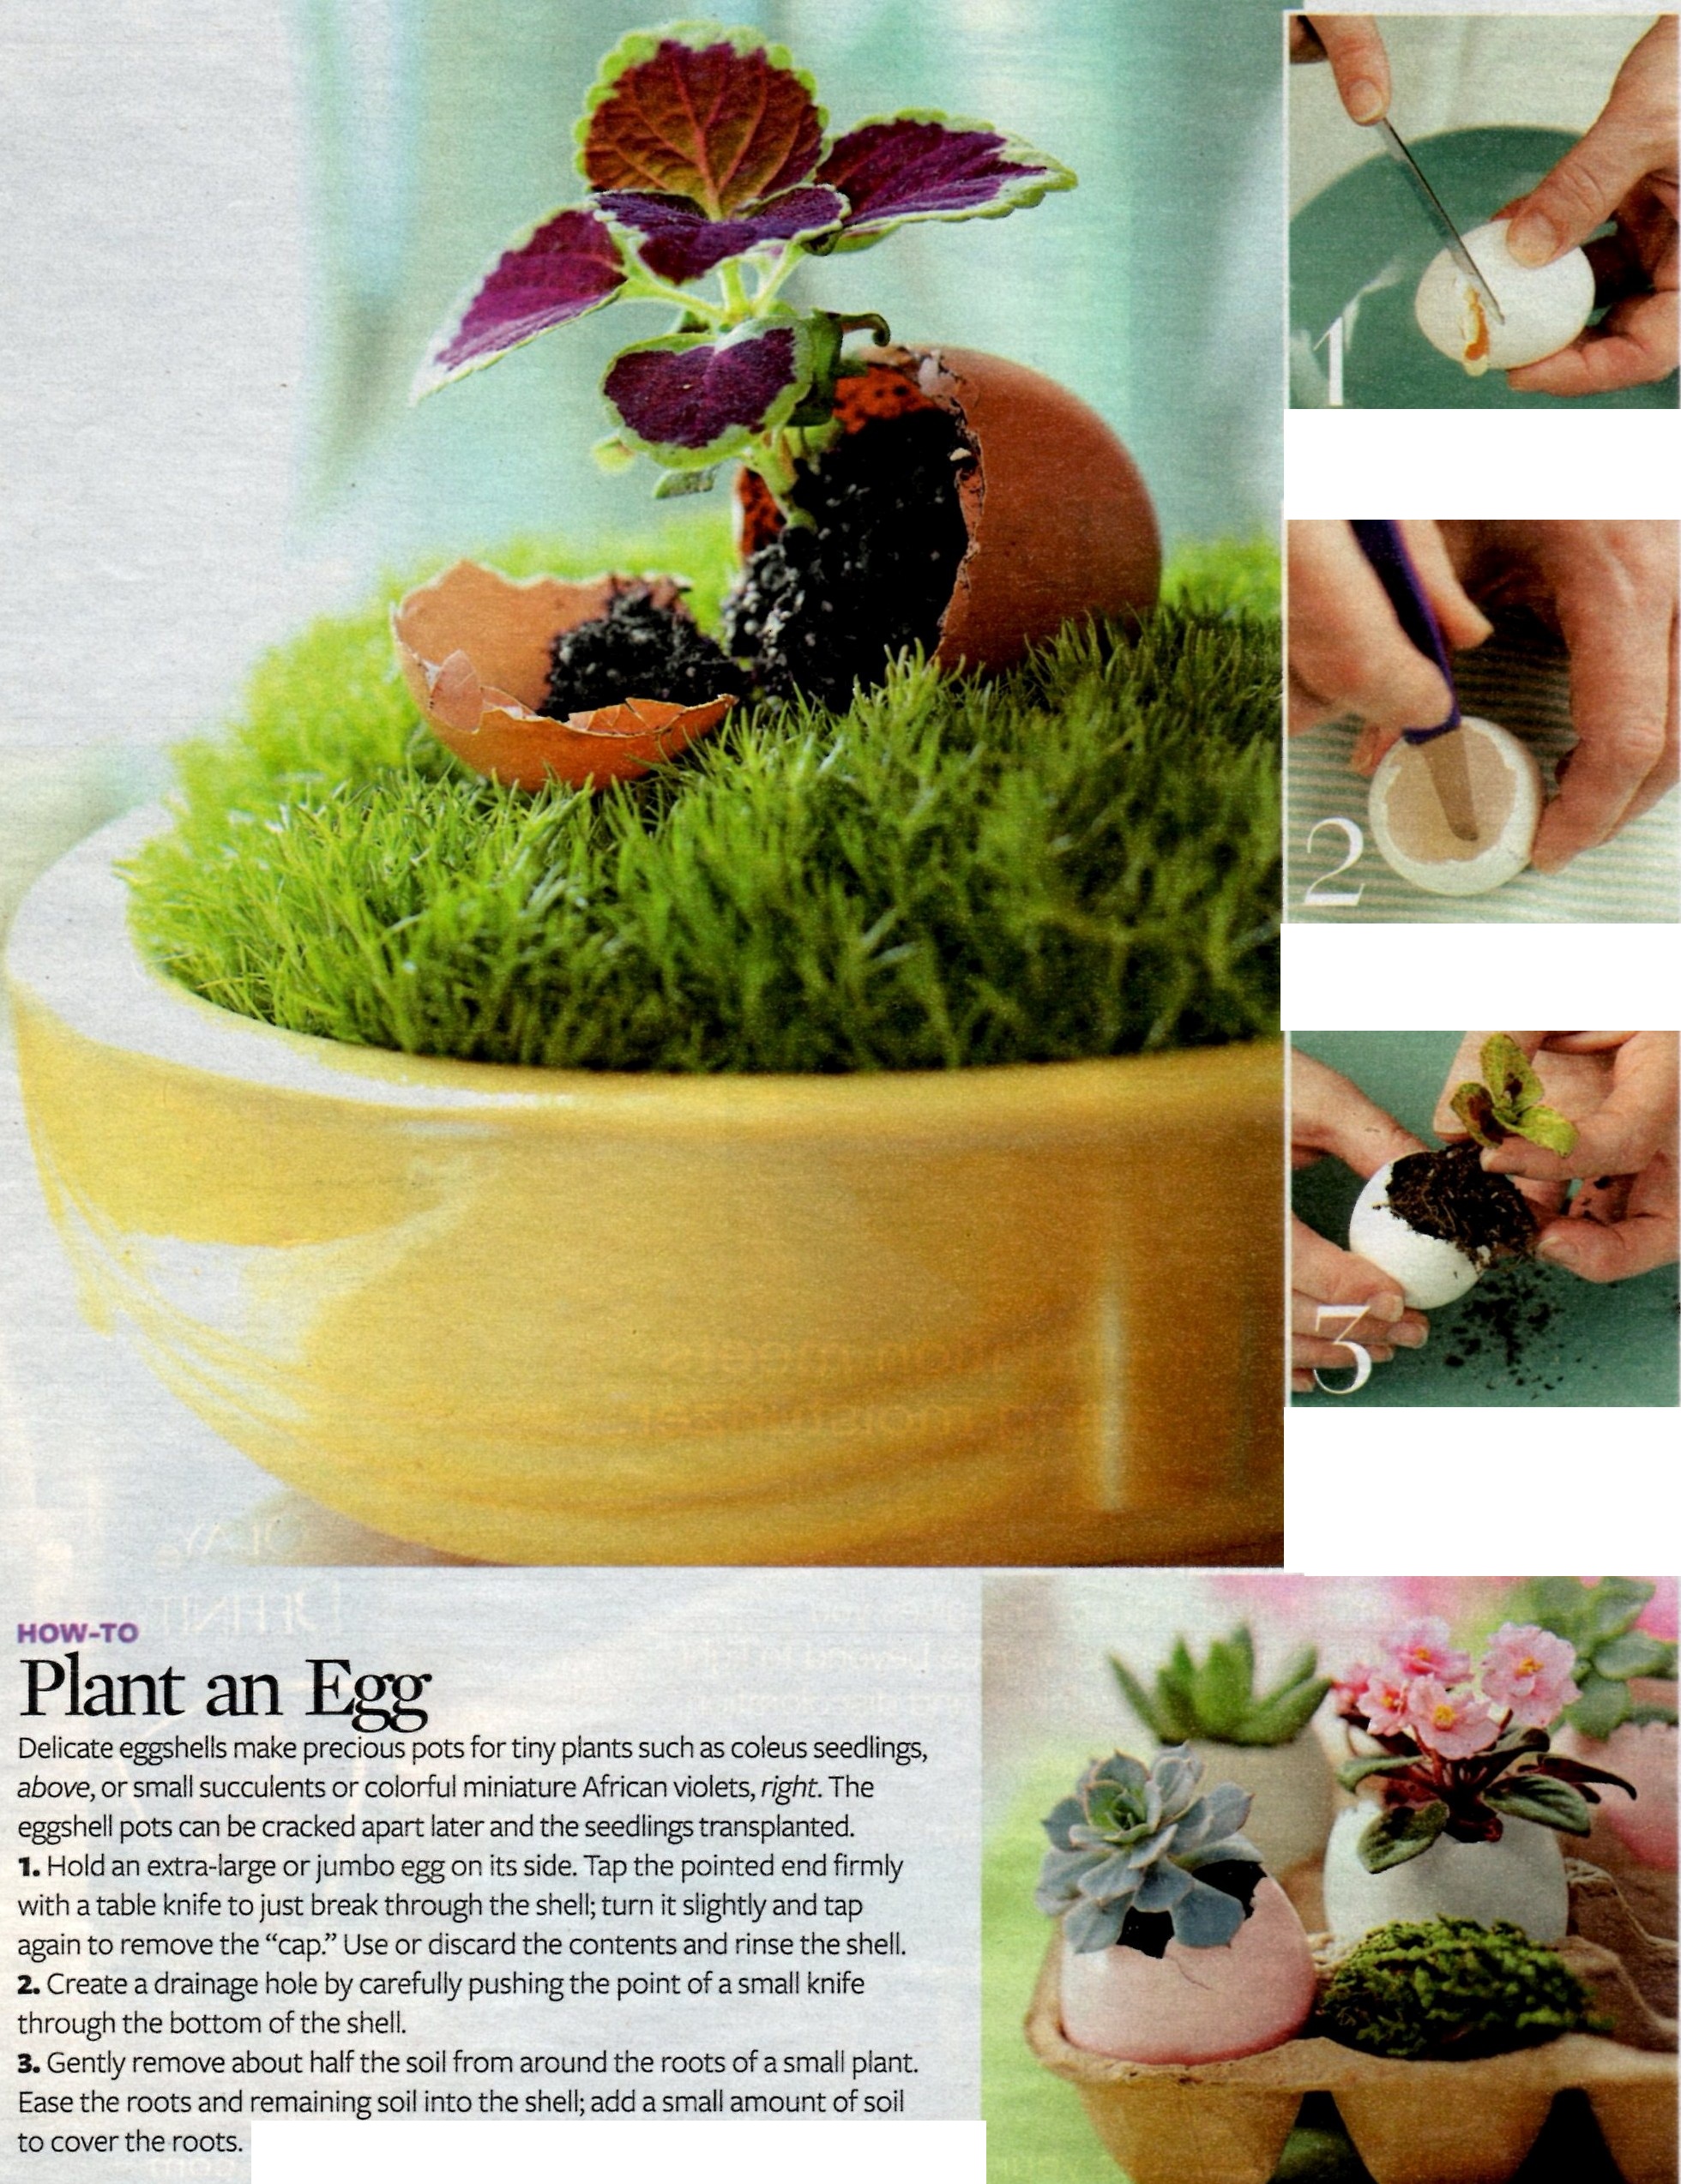

Using An Eggshell For A Tiny Pot

Image

Jeffrey Scott Thomas 117

Home Made Doggie Bisquits

d

These are a healthier choice for your doggie -doggie treats bought from a store are usually sent here from a foreign country that has no standards for what is put into the treats. Home made allows you to know what has been put into the recipe to keep your doggie from having chemicals and unhealthy leftovers from the processing of animal meat.

2 eggs
1/2 cup canned pumpkin
2 tablespoons dry milk
1/4 teaspoon sea salt
2 1/2 cups brown rice flour *
1 teaspoon dried parsley (optional)

Preheat oven to 350.

In large bowl, whisk together eggs and pumpkin to smooth. Stir in dry milk, sea salt, and dried parsley (if using, optional). Add brown rice flour gradually, combining with spatula or hands to form a stiff, dry dough. Turn out onto lightly floured surface (can use the brown rice flour) and if dough is still rough, briefly knead and press to combine.

Roll dough between 1/4 – 1/2″ – depending on your dog’s chew preferences, – and use biscuit or other shape cutter to punch shapes, gathering and re-rolling scraps as you go. Place shapes on cookie sheet, no greasing or paper necessary. If desired, press fork pattern on biscuits before baking, a quick up-and-down movement with fork, lightly pressing down halfway through dough. Bake 20 minutes. Remove from oven and carefully turn biscuits over, then bake additional 20 minutes. Allow to cool completely on rack before feeding to dog.

* Brown rice flour gives the biscuits crunch and promotes better dog digestion. Many dogs have touchy stomachs or allergies, and do not, like many people I know, tolerate wheat.

Makes up to 75 small (1″) biscuits or 50 medium biscuits

Proper Place Settings

5307_448850101861668_1845974850_nWho would have known there were so many pieces of stemware, plates, bowls, silverware to make a very formal proper setting for each person at a table.  This is a great diagram sent to us by Wendy Graver. Print and use it to make a formal place setting for your table.

Green Bell Pepper Interesting Information

562351_413544415408177_966932594_nI never knew this! How cool!!
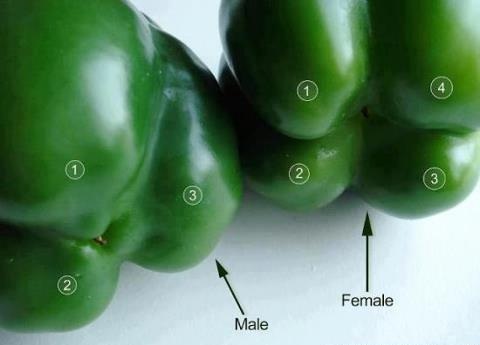
Flip the bell peppers over to check their gender. The ones with four bumps are female and those with three bumps are male. The female peppers are full of seeds, but sweeter and better for eating raw and the males are better for cooking.