
Top 5 Hardscaping Solutions For Your Home
Key Takeaways
- Hardscaping elements provide an excellent balance to your home’s landscaping.
- There is so much you can do with paved areas, patios and decks, fences, lighting, and garden structures to make your outdoor spaces even more charming.
- When introducing structural elements to your yard, it’s advisable to consult an expert for ideas and planning.
Creating a personalized, appealing landscape for your home not only increases its resale value and curb appeal but also makes it enjoyable to entertain guests outdoors and spend time there yourself.
The Balance Between Hardscaping and Landscaping
Your lawn, bushes, and garden make up the living landscape, but hardscape items like pavers, decks, walkways, fences, and garden structures give shape and order to your yard, providing necessary visual contrast with the plants, trees, and other living elements. A good balance between landscape and hardscape elements creates an appealing, useful space where you can enjoy being outside.
Think of hardscaping and landscaping as yin and yang for your outdoor space. Too many plants, bushes, and trees without hardscape elements to divide spaces and provide structure can make a yard seem too wild and chaotic. An abundance of hardscape elements like pavement, fencing, edging, and structures, without enough landscaping to balance them out, can appear stark and cold.
The Top 5 Hardscaping Solutions for Your Home
There are many different hardscaping choices. Let’s explore the top five solutions for creating an inviting yard outside your home.
1. Paved Areas
Whether they form the approach to your front porch, your driveway, a path around the house, or connect to an outdoor bench or garden area, walkways made of pavers can make your yard more inviting and easy to enjoy.
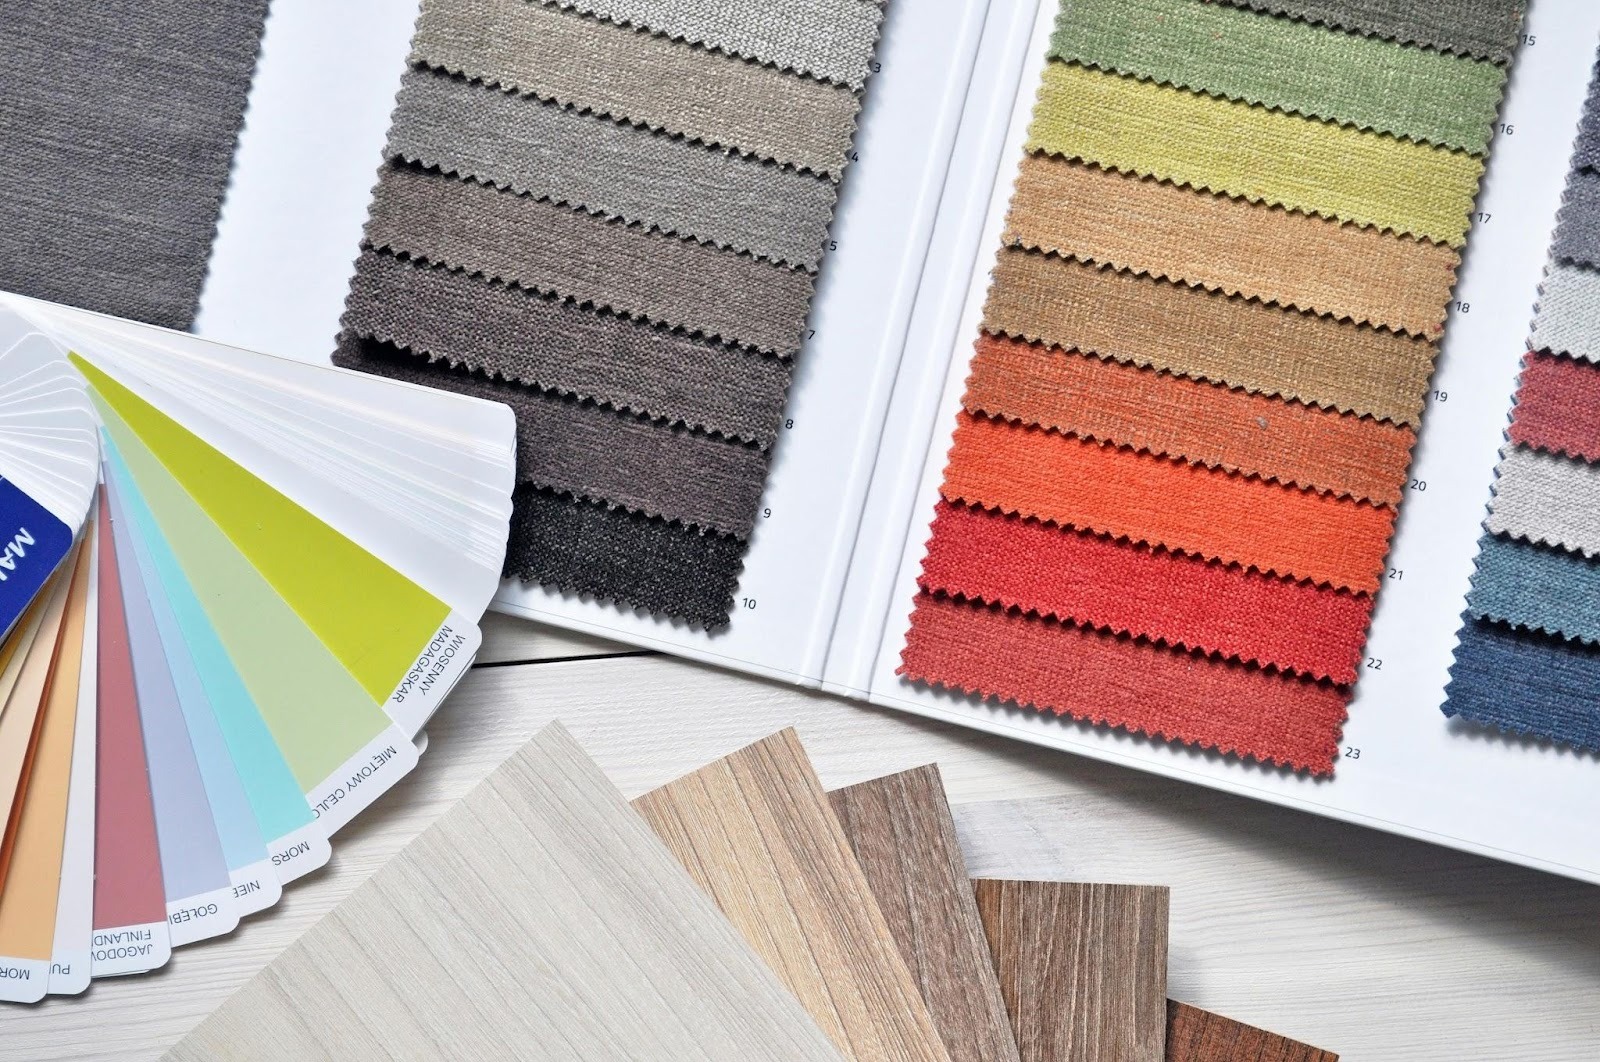
Pavers come in a wide variety of colors and styles and can be made of myriad materials like brick, flagstone, travertine, concrete, stone, and porcelain. Paver installation can be complex and requires expert planning, experience, and knowledge, so it’s best left to professionals so you get the best return on investment and ensure longevity and stability.
2. Patios and Decks
Patios and decks serve as an extension of your living space and can create inviting areas for guests and family to gather. They can be located in the backyard near a back door, on the side of the house, or even in the front yard, as front yard patios and decks can increase curb appeal and provide areas to socialize with friends and neighbors.
Patios and decks often include furniture, fire pits, and even outdoor bars and kitchens. These can be personalized according to decor preferences and how the space is used. Materials vary and can include wood, concrete, composite materials, brick, and flagstone. It’s a good idea to hire a professional installer to ensure decks and patios are stable and will hold up over time.
3. Fences
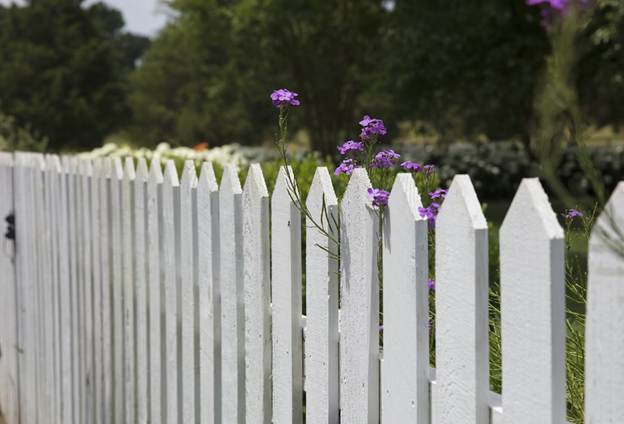
Fencing is a great way to separate yards, keep pets and children from roaming, maintain privacy and security, and create an attractive, orderly space. Choose from wood, metal, chain link, and vinyl materials to suit your yard’s style.
There are also multiple types of fences, including tall privacy fences, decorative picket and wire fences, panel fences, and more. Keep in mind that, if you want to put a fence between your yard and a neighbor’s, you should consult your neighbor. There may even be price-sharing options, depending on where the property lines are.
4. Lighting
Outdoor lighting not only assists with your home’s safety and security, but it can also make your yard more functional and visually appealing in the evening. You might want to install motion detector lights near your garage or front door, or string solar lights above your patio for a festive look. Here are some additional ideas for outdoor lighting:
- Wall sconces near a door or on a patio
- Lantern posts on a patio
- Floodlights near fencing
- Vertical bollard lights spaced evenly along fencing
- Pendant lights above outdoor dining tables
- Stake lights along pathways and driveways
- Candles or flameless LED candles on outdoor tables
- Mason jars with LED lights inside to create a festive atmosphere around pools or on patios
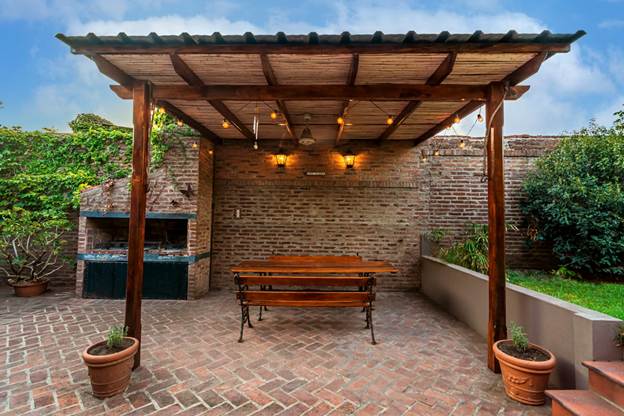
5. Garden Structures
Pergolas, arbors, gazebos, and other garden structures can be both functional and decorative. Many of these structures support viney plants, integrating hardscape and landscape elements in your yard. Often, an arbor serves as an entrance to a yard or garden area, creating an outdoor “room” of sorts. Structures can be metal, wood, or composite and come in various styles.
Final Thoughts on Hardscaping Solutions
As you consider these hardscaping solutions for your home, remember that professional landscape architects are a terrific resource for ideas and planning. And while some hardscape elements can be DIY projects, it’s advisable to at least consult an expert when introducing structural elements into your yard.


