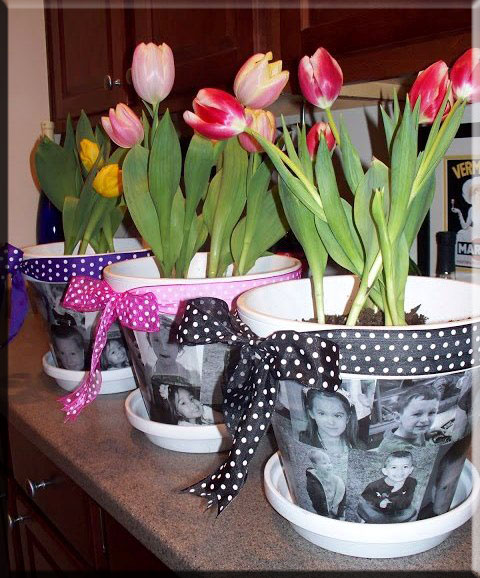
This is a great idea for Mother’s Day – Wedding Centerpieces=
Print on plain paper a series of photos of the Mother’s children or Grandmother’s Grandchildren is sizes ranging from 3×5 to 4×6. You must use regular paper for this project as photos or photo paper won’t mold well to the contour of the pot. Use Mod Podge and brush a coat over the area where your picture is to go and press firmly onto the pot. Use a dry brush to work any wrinkles out that form and then continue until pot is covered. When pot has been given ample time to dry, brush a thin layer of Mod Podge over all the photos getting it into the crevices made from the over lapped photos. Let dry. You can then seal the entire pot with a coat of acrylic spray. Also, think about painting your pot first to give it a new clean appearance. I still recommend using a liner inside the pot – or you could use a thick plastic in the pot before planting. You wouldn’t want such a special gift to be ruined over time would you? You could print the photos as black and white or you could just use color. But test Mod Podge on the color to see if bleeding will occur. If it does spray a coat of fixative or acrylic spray on photos before attaching to your pot. Would be great also as centerpieces for a wedding on each table with pictures of the couple during their relationship.
If you like this post and want to share it then click the service!

 What a clever way to update an old lampshade (one you already have or one you get second hand). Spray lampshade white and glue/sew old buttons on to create random or specific patterns. Use various shapes and color to create a hodge podge design or go for color specific and/or shape specific depending upon your desired outcome. Goop would be a great (more permanent) glue for this application. This has me thinking about what else could go onto a lampshade to update a room: bottle caps, hat pins, patches, scrap fabrics – it seems end less when you start and think about it.