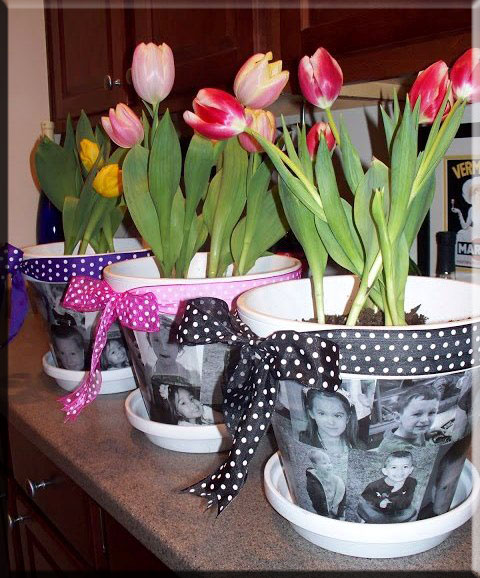
 I have always enjoyed decorating for the holidays and Thanksgiving just does not have many options available in the means of store bought decorations to choose from. So I am always so very happy to find cheap and really cool ideas to decorate with – and ones that do not take a lot of time.
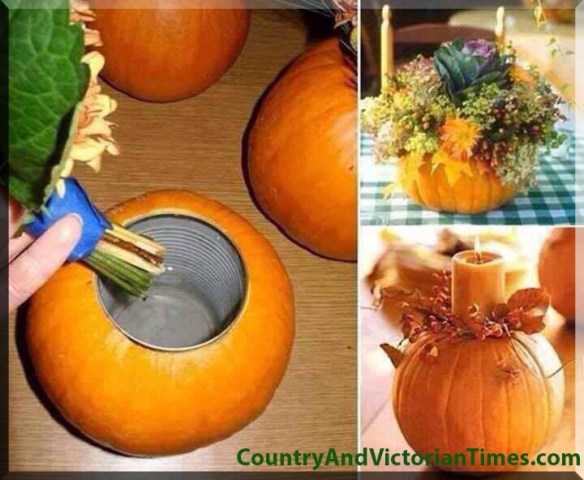
This decoration uses small small pumpkins just big enough to put a clean soup can in and dried or fresh flowers and/or a pillar candle. Place the can on the top of the pumpkin and trace around the can to make a guide for cutting. You will want this to be tight so cut just within the line. Cut the pumpkin and remove the guts and seeds (don’t throw those seeds out – see how to prepare them as a delicious snack below) so the pumpkin will last longer. You will also want to scrap the insides of the pumpkin to not leave any wetness that prompts rotting.
Now gently push the cleaned can down into your hole you cut. You want it snug so that the can will not push through into the pumpkin. It will defeat your end design of the arrangement.
FLORAL: If using fresh put clean water in and place your fresh flowers in. Place a wide bow around them at base next to pumpkin to finish off the look. Is using dry do the same without water.
CANDLE: Place the candle within the can and place flowers and filler around base. To keep the candle from going to far into the base wad up aluminum foil to fill in to make the height of the candle where you desire it.
SEEDS: Rinse in a strainer and remove any slippery substance and also the strings or guts of the pumpkin. I actually soak them for a few hours in water I have brought to a boil and added salt to so they absorb the solution to make a nice salty seed. You do not have to if you don’t want to. Bake them spread on a cookie sheet at 350 and turn every couple minutes until you smell that nutty smell and see teh edges of the seeds turning brown. Turn oven off and let them cool with the oven. When cool bag and eat as a delicious healthy snack.
If you like this post and want to share it then click the service!

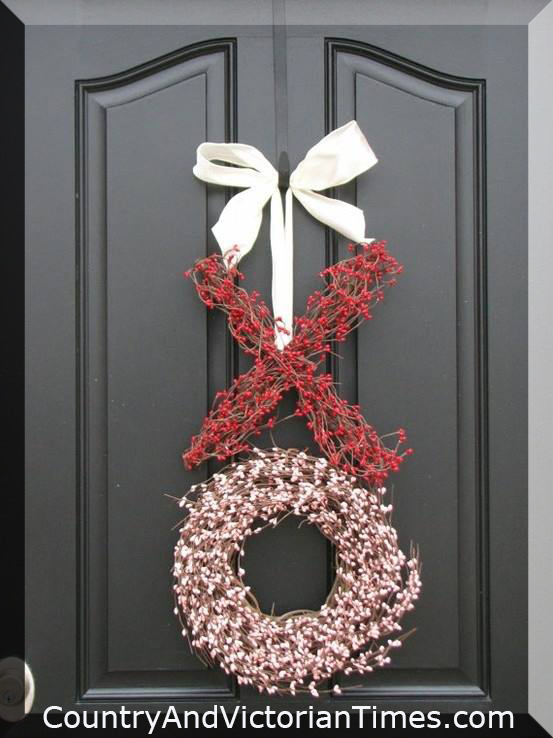 Nothing says ‘I Love You’ more than the quick way of expressing it with an X and O for a hug and kiss. These door wreaths would work for a Valentines Day decoration or for a Wedding Decoration. The X is done freehand with with berry branches (faux) and the O is done using a wire formation available at any craft store. They are both backed with a four inch ribbon and bow at the top to hang. These can be made large or small which gives some diversity to use on walls, door or as tale decorations or centerpieces.