 For as long as I can remember my home as always been decorated from top to bottom with every nook and corner having just the right decoration from when I was young to now. I remember my Mom always making our Christmas special in every way that she could from baked goods to a tree that often had more than one ornament per branch. Garlands and lights were strung inside and out and walls and doors were always marked with something festive to help celebrate. Yes, my family has been told more than once that it looks like Christmas threw up in our home but we don’t care.
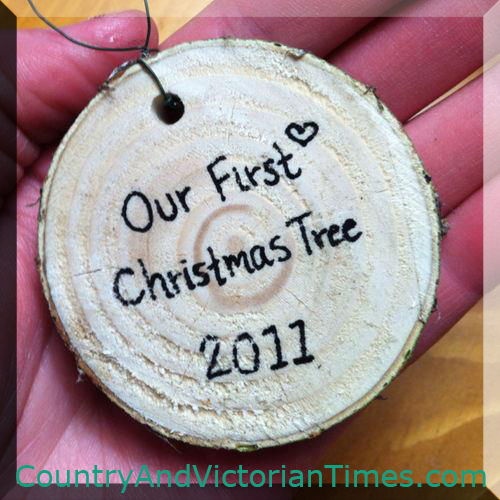
Special times and celebrations have always been important during this time of year and making keepsakes is always important. The picture above shows the cut off end of a Christmas tree made into an ornament which makes for a cherished keepsake. Just use a cut disk from the bottom trunk and write a message with a sharpie. Drill a hole and use wire or ribbon to make a loop and bow to hang.
I often will keep little pieces of wrapping papers and tags from presents. I trim them nicely into squares and bundle them together often with just a staple. I have had meaning to place them in scrapbooks but our family has kept photos more digitally then printing them out these past few years. I have also thought about Modge-Podging them to pre-cut forms that would make nice keepsake ornaments. They go into our memory boxes that each person in the family has and I hope the kids enjoy these memory reminders when they are older..
Ornaments seem to always be in abundance in my home as each year each family member gets one that represents something significant that occurred that year. I am always finding ornaments in repair and take the time to do just that even though we can never use them all. I have marked years and names on them and I suppose in the years after I am no longer here that they will find their way to who they belong. Until then these will remain with me as special little memory reminders.
Special dinners and present giving is always important to me as well. I find finding that special present and even the perfect wrapping paper for my loved ones fun to do. I know I hear a lot that many consider it a chore – and I always reply if it is such a burden don’t do it. I do not personally care if I receive anything or not in return but always find special and thoughtful gifts mean more than expensive costly presents.
I am also one of those obnoxious people who send out a family newsletter – and some may think it is obnoxious but others start asking when they will get it if it is taking a little longer than usual to get it. I do try to keep it short and concise but always bear in mind that some of the information may be of no interest to you but someone else may want o hear about it. I also send several pictures out so people can see some of our years events. I have cut my list of those who I send to down as the years go on – those who send nothing or barely take the time to even sign a card I feel would prefer to cease communication and I have started to oblige.
The packing up of all of the decorations and keepsakes always takes a few days in my home but I enjoy taking the time to put them all away because the more time that is devoted to putting them away the easier it is to unpack – and enjoy reliving the memories the following year.
What special things do you do for the holidays to help create memories? How to you create little keepsakes other than pictures? What special events does your family partake in this time of year?