How To Eliminate Air Quality Problems That Plague Older Homes? – Zoe Clark

1
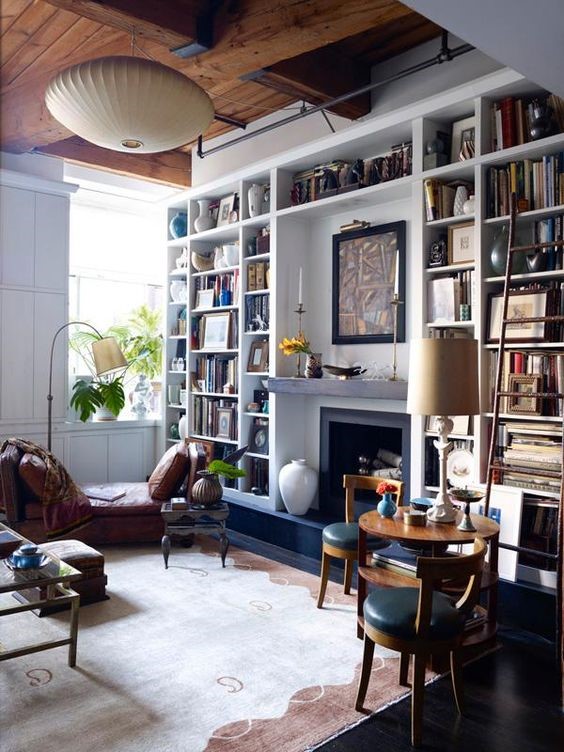
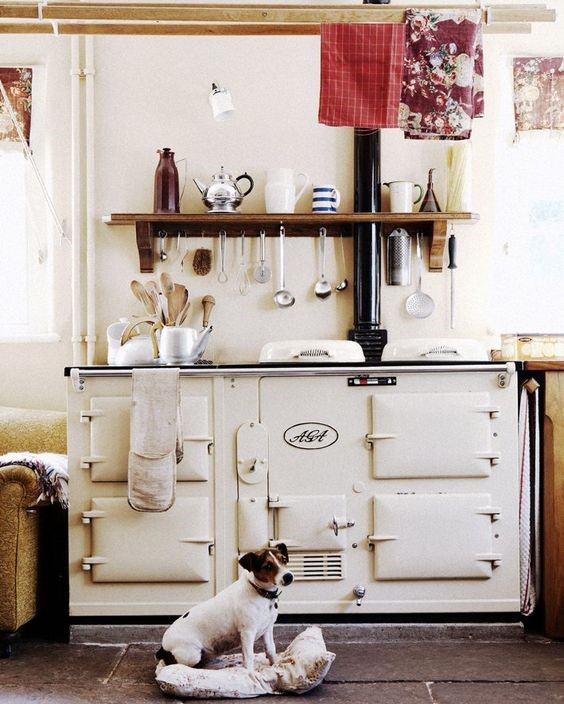
Older homes are special places brimming with character and charm of the bygone. They have a distinctive atmosphere, magnificent architectural elements, and attention-grabbing design features. The only problem is that these are not the easiest environments to maintain and one of the common issues is air quality.  On the brighter note, there are some measures and steps you can take to immerse in your striking space while at the same limiting the exposure to risk.

Dust in the wind

2

Interior air is bustling with life. Most of it is harmless, but there are also little bits of substances that can impede your health and wellbeing. Nuisances like allergens usually call for some cleaning and maintenance. So, keep the dust at bay and you will deal a serious blow to allergens. Furthermore, dust is also a base of operations for other uninvited guests such as mildew, mold, pet hair and dander. See to it that horizontal surfaces are cleaned on a regular basis.

Pay special attention to wall-to-wall rugs and carpets since they are the Promised Land for animal allergens and dust. One other thing you can do is purchase an air purifier. Personally, I am quite satisfied with air purifiers from Oransi. Of course, do not forget to ventilate your living space as well, and let the rejuvenating fresh air in. This decreases the level of allergens, as well as odor and moisture.  A relative humidity level should be between 30 and 50 percent, and both humidifiers and dehumidifiers serve as a means of monitoring it.

A clean slate

3

An older insulation can contain asbestos, a mineral fiber which was used to provide heat insulation as well as fire resistance. However, breathing airborne asbestos puts you at an increased risk of lung cancer, mesothelioma and other conditions. It is precisely the poor condition of asbestos products that launch this menace into the air, which is to say that a professional inspection, removal, or repair is required. Likewise, bear in mind that the products like cleaners, pesticides and garden supplies can also emit fumes and odors, so keep them in sealed containers.

The next crucial element is plumbing. Installations made prior to 1940s often used lead, a notoriously toxic material. Even if the pipes were made of galvanized steel, another popular solution, they are still prone to corrosion and leaks. One signal that the detrimental process has begun is low hot water pressure. Homeowners who fail to anticipate this are faced with potential damage to structural elements. Even worse, this nurtures a fertile environment for mold and mildew to take hold. While this usually gives rise to allergic reactions, some molds are even toxic.

The only remedy against this is regular inspection and maintenance, and in many instances, the replacement of aged pipes. Finally, do not overlook masonry chimneys and fireplaces that reveal their more fragile nature over time. Namely, cracks can occur, and once that happens, gas leakage is soon to follow. Carbon monoxide is something you do not want in your home, so before the disaster strikes, muse on relining the chimney with clay tiles, cement or metal. To minimize the risk, it is also advisable to make good use of smoke and carbon monoxide detectors.

A breath of fresh air

The indoor air quality is of the utmost importance for your and your family’s health. There are various sources of pollution you need to keep an eye on, so do not let them offset the allure of an old home.  Control the interior climate, increase the ventilation, conduct regular maintenance, and keep track of elements that spoil it. Take action promptly and address the root of the problem: That way, you can breathe more easily, and do away with a wide range of dangers that lurk in the shadow of the antique.


Safe Alternative To Chemical Stripper

Ever get a really old piece and you go to sand it down and it gums up your sandpaper? Well, it’s because it’s OLD! This is when you use this method to strip an…

Heres more on how to do it:: Safe Alternative to Chemical Stripper

A Guide To Remove Stains On Clothing

1632_970133209724314_6211927822611896843_nGreat little chart that would be useful to print out and keep posted near your washing machine.

Hydrogen Peroxide Uses

hydrogen-peroxideFirst Aid

Hydrogen peroxide gently sanitizes cuts and scrapes without harsh chemicals. It’s a natural anti-septic that helps to prevent infection. This solution should be used to help clean minor wounds but should not be used for long term treatment or to clean serious wounds.

I personally use a food-grade, 3% hydrogen peroxide solution for minor cuts, scrapes and bug bites to disinfect, and use this DIY first aid ointment to promote healing.

Contact Lens Solution

If you forgot your contact lens fluid, fear not! If you have hydrogen peroxide, you can use this as a temporary contact lens fluid. The 3% solution will keep your contact lenses safe and will even help break down proteins that have accumulated on your lenses during the day.

Sinus Infection Relief

Diluted hydrogen peroxide can be used as a nasal spray for those of you dealing with sinus congestion.

Mouthwash

A food-grade, 3% solution of hydrogen peroxide can be used as an effective and safe mouthwash. When used daily, it can even whiten your teeth and help with persistent canker sores. You only need about 1 tablespoon daily; just swish around the solution in your mouth for 1-2 minutes and then spit.

Sanitize Toothbrushes

Keep toothbrushes naturally clean with hydrogen peroxide. Just soak toothbrush heads with a 3% solution of hydrogen peroxide to kill germs and bacteria. Try this 1-2 times a week.

Whiten Teeth

Mix 1 tbsp of baking soda with 1 tsp of food-grade, 3% hydrogen peroxide to make a paste. Use this as a “toothpaste” to remove stains and help to whiten teeth. Use a few times a week as needed.

All-Purpose Cleaner

I always turn to hydrogen peroxide in my home because it is an effective and safe cleaning product. It has strongdisinfectant properties and so it can be used in the kitchen, bathroom and even on your children’s toys. It’s also great for cleaning mirrors and windows.

Laundry Stain Remover

Next time you have to tackle a laundry stain, try using 3% hydrogen peroxide. Gently dab the solution onto the stain and let sit for no longer than 3 minutes (hydrogen peroxide can bleach fabric if left on the stained surface too long), then thoroughly rinse the affected area.

Whiten Laundry

Give up bleach for good and opt for hydrogen peroxide to get clothes naturally white. Add 1 cup of hydrogen peroxide a load of laundry. Let soak for 20-30 minutes and wash as normal.

Mold and Mildew Cleaner

Don’t reach for bleach if you have a tough mold or mildew stain. Spray a 3% solution of hydrogen peroxide on mold and mildew on grout, tiles, bath tubs, shower stalls and more. Let solution soak for at least 30 minutes and rinse.

Carpet Cleaner

Got a tough carpet stain? Spray a little hydrogen peroxide on the stain and let sit for no longer than 3 minutes (hydrogen peroxide can bleach carpet if left on the stained surface too long), then wash out well with a cloth. Test on an inconspicuous spot first.

Disinfect Kitchen Sponges and Sinks

Kitchen sponges and sinks can easily contain more germs than bathroom toilets. Yuck!

Keep those sponges and kitchen sinks clean with hydrogen peroxide. Clean out sink of any dishes or dirt. Plug the sink and fill with very warm water and add 1/2 cup of hydrogen peroxide. Add kitchen sponges and let sit in sink for about 20-30 minutes. This will help to sanitize both the sponges and the sink and naturally kill bacteria.

Natural Fruit and Vegetable Cleaner

Hard to believe, but, yes, that produce you got from the store is covered in germs. Ew, right? Hydrogen peroxide can kill germs on your produce, as well as help neutralize potentially harmful chemicals.

Simply fill half of your sink with warm water and add 1⁄4 cup of food-grade, 3% hydrogen peroxide, then let your fruits and vegetables soak for 10-15 minutes. I would recommend using this method on fruits and vegetables with thicker skins such as cucumbers and potatoes.

Sanitize Cutting Boards

Keep your cutting boards clean with hydrogen peroxide. Just spray cutting board surfaces with hydrogen peroxide and let sit for 5 minutes. Rinse well with hot water, and then use dish soap to wash off food particles.

Disinfect Refrigerator

Got a funky smell in the fridge? First, empty out all the food and drinks. Then, spray hydrogen peroxide and let sit for a couple of minutes. It will help to sanitize and neutralize odors. Wipe down with a clean cloth and place food back inside.

Original article can be found at: http://wisemindhealthybody.com/tracey-black/hydrogen-peroxide-facts/


Do You Make These Simple Mistakes While Selecting Entrance Mats? – By Jason Phillips

Moisture and debris trapped inside homes or buildings can damage flooring surfaces severely. Basically, this mean you’ll have to mop, sweep and vacuum a lot more often. An entrance mat is the only support you have against harmful debris, dirt, and grit. This is a much cheaper solution than replacing floors. Furthermore, it’s a lot safer too; nobody likes to walk on wet floors. Entrance mats are not that expensive and they don’t even require a lot of attention.

Any type of facility, whether home or office buildings, demands entrance matting. They’re an excellent protective layer from falls and slips. Companies and homes should have such a mat at the entrance because they control the amount of dirt that enters that building; on top of that, they’re trendy and are available in all kinds of interesting models and designs. In special circumstances, entrance mats are also warning signs or advertising billboards. Considering they have such a diversified purpose, they do demand care and maintenance to function correctly and effectively. A lot of people don’t know how to purchase mats. They often make the mistake of buying the wrong size or they don’t think that material is important.

jp1

Invest in Adequate Mats

Entrance mats come in a wealth of qualities and types. When it comes to keeping floors protected, there’s no room for compromise. It is important to invest in a powerful entrance matting system. Generally speaking, there are 2 common types of entrance mats used. The first type is a blending mat that removes larger quantities of debris, moisture and dirt from people’s shoes. These have various tufting levels, which basically mean that they scrape the shoe very efficiently, removing dirt and trapping it on the mat.

The 2nd type of commercial matting system has a wiper or finishing at the bottom. It is best during the warm seasons when people’s shoes are mainly filled with dust. As a company, you are advised to opt for a matting system. Placed correctly in areas with intense traffic, these have the capacity to trap as much as 90% of dirt.

jp2

Periodic cleaning of your mats is mandatory

For a space to remain clean the owners must clean their mats periodically. Vacuuming a mat is the easiest way, although if you have anti static mats made of rubber, you can just shake them weekly and wash them every month with warm water. Dirt that gets trapped on a mat doesn’t spread throughout the premises of a home or building. If you make the mistake of buying a cheap mat, you’ll have to mop and vacuum the floor a lot more often to keep the air breathable.

Vacuuming mats properly – how to avoid mistakes

Many people don’t vacuum their entrance mats. They usually change them when they notice they are filled with dirt. This is a huge mistake because by the time you’ll notice the dirt, a large portion has already managed to lie on the floor of that building. Opt for vacuuming using a backpack or canister, or direct suction because the brush on upright vacuum cleaners has the capacity to stir up dust in various levels on mats with different styles and materials. Vacuums with direct suction provide deep cleaning; they use a carpet extractor when it’s impossible to wash them with pressure or hose them out. Avoid using soap during the process, or use in very small quantities. In wintertime, vinegar or a neutralizer are excellent; they remove salt residue thus keeping floors (and mats) protected. After you’ve cleaned them, make sure to leave them to dry. Don’t make the mistake of placing them back on the floor while they’re wet. Leave them on a fence to dry for a few hours.

jp3

Don’t postpone the replacement of a mat

Extending the life or a doormat is a mistake. At some point, you will be compelled to replace a current mat with a new one. Sadly, very few people know when to do that and most of them do it too late. When mats don’t get replaced on time, cleaning a whole building become a nightmare. You risk spending over $1000 in equipment and maintenance, and you certainly don’t want that to happen.