 I love this phrase done on this plaque for Mother’s Day – it could really give inspiration to make a plaque of your own or for that matter it would make a great front to a Mother’s Day card. The words are powerful and have a lot of meaning to them.

I love this phrase done on this plaque for Mother’s Day – it could really give inspiration to make a plaque of your own or for that matter it would make a great front to a Mother’s Day card. The words are powerful and have a lot of meaning to them.
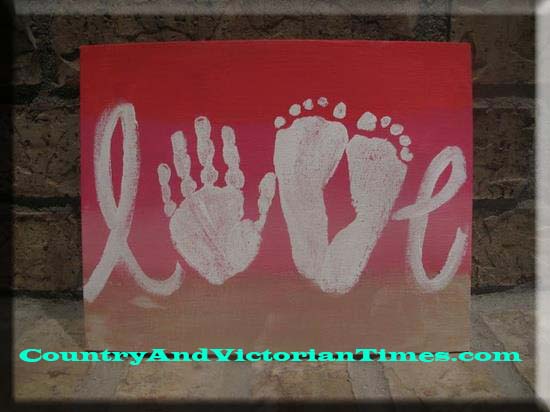 This was actually done on a wooden plaque that you can get at your local craft store for about $1.50. You could do this on a card stock sheet of paper for a great Mother’s Day card as well. Use watercolors (on paper) and acrylic (on wooden plaque) and brush back and forth in long strokes going off the sides with each stroke. Use a variation of your Mother’s favorite colors. When done use water based poster paint (used the color white here) and make an impression of hand and feet then finish it off with an ‘L’ and an ‘E’. Something more than just a store bought card that Mom or a Grandma would love to cherish for years to come. I think the same design with blue’s in the background would also work for a card for Father’s Day – I know I would be happy to receive it.

Such a simple little thing to do with the kids on a boring summer afternoon. Rocks should be cleaned with an old scrubber and dried overnight. Use acrylic paints and start with covering the rock with black paint. You may want to make two coats allowing to dry completely in between. Follow the simple design from the picture and paint the areas red where indicated and dry. Top with a clean black line down the middle of the back and add black dots on the back also. Add a black dot in the center just after where the red starts on the back. Add two white dots on the face for the eyes. Let dry. When it is all dry coat with two coats of polyurethane to seal. Would make a great gift for the wee ones to give to parents and grandparents, aunts and uncles. Can be placed back in a garden or used as a creative paperweight.
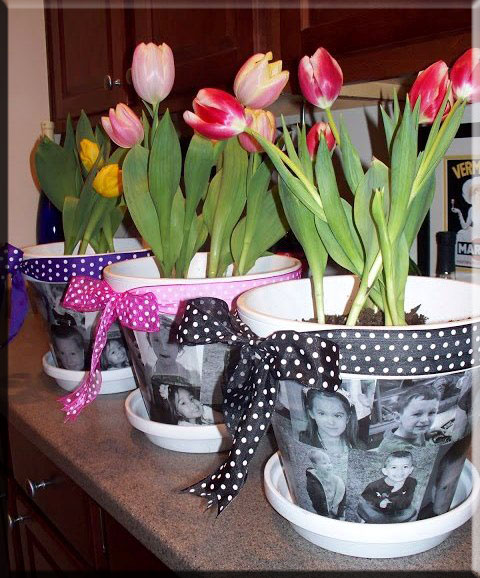 This is a great idea for Mother’s Day – Wedding Centerpieces=
Print on plain paper a series of photos of the Mother’s children or Grandmother’s Grandchildren is sizes ranging from 3×5 to 4×6. You must use regular paper for this project as photos or photo paper won’t mold well to the contour of the pot. Use Mod Podge and brush a coat over the area where your picture is to go and press firmly onto the pot. Use a dry brush to work any wrinkles out that form and then continue until pot is covered. When pot has been given ample time to dry, brush a thin layer of Mod Podge over all the photos getting it into the crevices made from the over lapped photos. Let dry. You can then seal the entire pot with a coat of acrylic spray. Also, think about painting your pot first to give it a new clean appearance. I still recommend using a liner inside the pot – or you could use a thick plastic in the pot before planting. You wouldn’t want such a special gift to be ruined over time would you? You could print the photos as black and white or you could just use color. But test Mod Podge on the color to see if bleeding will occur. If it does spray a coat of fixative or acrylic spray on photos before attaching to your pot. Would be great also as centerpieces for a wedding on each table with pictures of the couple during their relationship.

