Perhaps as far back as anyone alive can remember one of the most timeless traditions connected to Christmas has long been that of gingerbread decorations. This sweet and decorative holiday treat was first linked to Christmas by the beginning of the 17th century, when the ban on public production of the product was lifted only during the months of Christmas and Easter. Gingerbread quickly grew popular throughout Europe and spread into America, where it was cut and decorated into Christmas tree ornaments during the Victoria era. However, Christmas-time gingerbread is best known today for either the story of the runaway man made of cookie, or the delicious houses that were first made famous by the Brothers Grimm and their tale of Hansel and Gretel.
While it remains unclear whether or not the decorative abodes were a literary creation or not, what is certain is that for now, the tradition appears to be here to stay. From home-baked and assembled, to creative non-bake ideas from Martha, all the way to premade kits ordered from specialty shops online, making gingerbread houses can be one of the highlights of the season if you love crafts and also have a bit of a sweet tooth. The craft is also one of the best ways to occupy a group of children in the days directly leading up to their anticipation of Santa. Although any of the above ideas can be used to make for a great holiday activity, making your own has always been a bit of tradition around here and can add an extra bit of pride and fun to finished product. If you’re working with adults, it’s a great way to keep yourselves busy on a family holiday over the course of a couple days. If you’re working with kids, its best to get all the prep work out of the way early so they can dive straight into the fun of building.
Creating the Hardware
Just like a real house, the building blocks of any great gingerbread creation have to start from the ground up. This can be done easily in two steps (or in two days if you need the extra time).
The first step is to make the dough. This part can be tweaked and personalized to your taste and according to any family recipes of your own, but our favorite was inspired by the German gingerbread that’s a bit harder than other European varieties, which makes a perfect base for starting a house.
Ingredients:
3 1/2 cups self-raising flour
1 cup plain flour
1 tablespoon ground ginger
2 teaspoons ground cinnamon
1/2 teaspoon ground cloves or allspice
1 cup firmly packed brown sugar
185g butter, chopped
1 tbls water
1/2 cup honey
2 free-range eggs, lightly beaten
1/4 cup pure icing sugar
Whisk together the dry ingredients and set aside. Beat butter and brown sugar until fluffy then add in eggs and water until well combined. Slowly add dry ingredients with a wooden spoon, taken extra care to ensure over-mixing doesn’t occur. Freeze for up to an hour for manageability, then roll out on floured surface for shaping.
The second step is to create the patterns. Part of the fun of making your own house is to make the shapes and sizes, as you would like. Perhaps you’d like to make a mini-model of your own house, or maybe the kids would enjoy recreating a fairy-tale village? That’s all part of the fun! However, for beginners, or as a reference for a jumping off point, plenty of patterns are available online to print and glue to hard paper for tracing and cutting.
Bake pieces at 350 °F for 11-15 minutes for large pieces and 6-8 minutes for smaller sets. While still warm, trim the sides with a straight knife to create smooth, workable pieces. Lay aside to cool and dry for up to a day.
Putting it all Together
Finally, using 2 large egg whites and 3 cups of pure icing sugar, beat constantly until thick to create the royal icing; the glue that will keep all the parts of the house together!
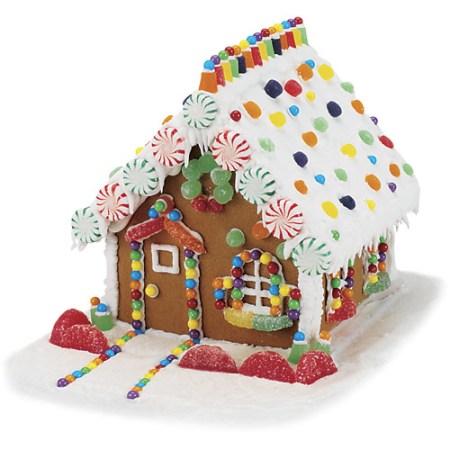
Of course, after the hard work, the decorations are the fun part. This is also going to be the part that the kids love best. Prior to gathering them up, stock up on plenty of small chocolates, sugared goodies, and or even nuts and hard candies to make your creation appear as the house of your dreams. Again, each house can be as unique as you want and this is really the time to let the kids tap into their creative minds and play.
Last step: Show it off!
Written and Copyrighted by Eve Pearce
If you like this post and want to share it then click the service!