You can buy this pattern from Funky Friends factory: https://www.funkyfriendsfactory.com/memory-bear-keepsake-toy-sewing-pattern
1: Gather Materials
Purchase a sewing pattern online from and lay out all the materials and fabrics you’re going to use.
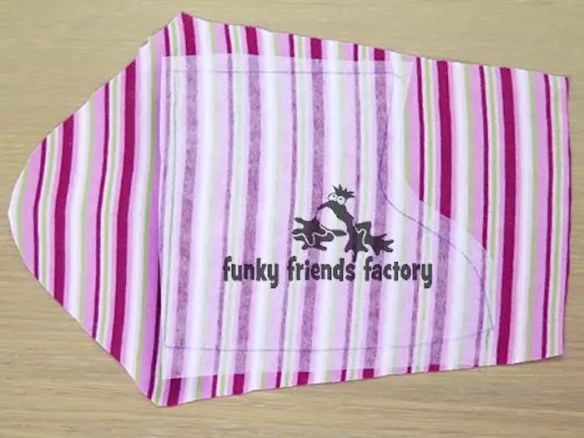
2: Prepare Those Pattern Pieces
Trace all the pieces included in the kit and cut around them leaving about 1/8 of an inch around the borders. Then iron the interfacing pieces on the fabric with the sticky part facing the back of the fabric. Once that’s done, cut the pieces out accurately on the tracing lines.
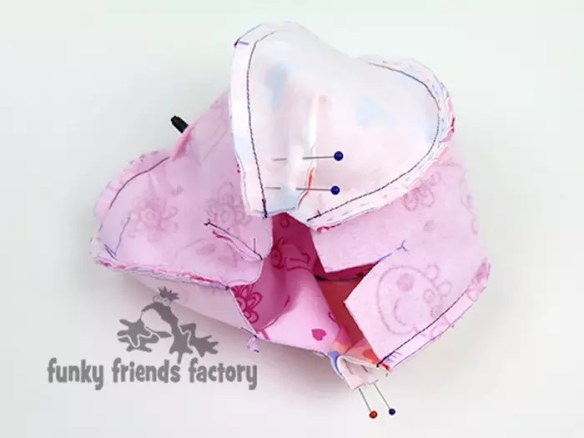
3: Sew Different Parts of The Head Together
Start by sewing the different pieces of the head together like the face and the forehead. Then follow up with the eyes and ears before moving on to the back of the head. Sew the side pieces on the back of the head and when that’s all done, here’s what it should look like.
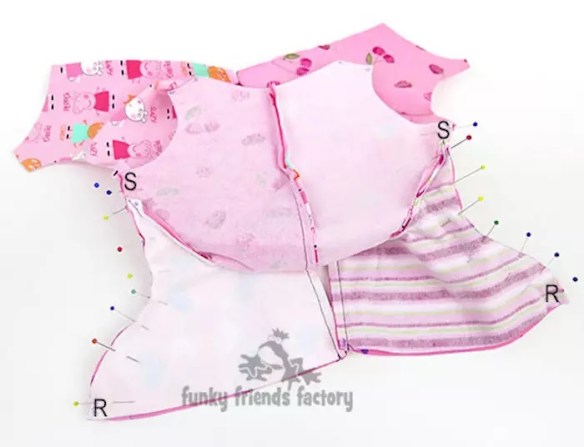
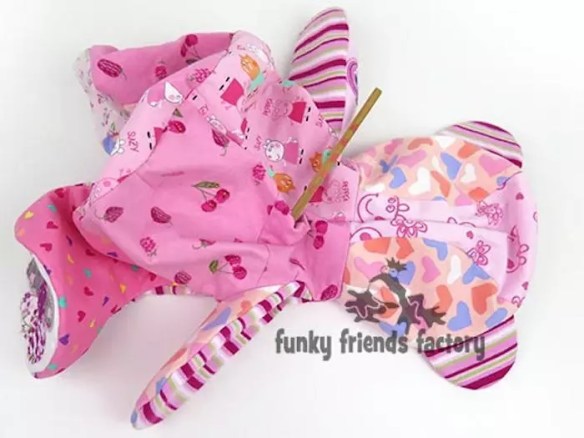
4: Sew Legs & Body
Now you can move on to the body starting with the tummy and then the inner legs. Then continue by sewing the pieces of the back and outer legs. Your sewing project should look something like this so far.
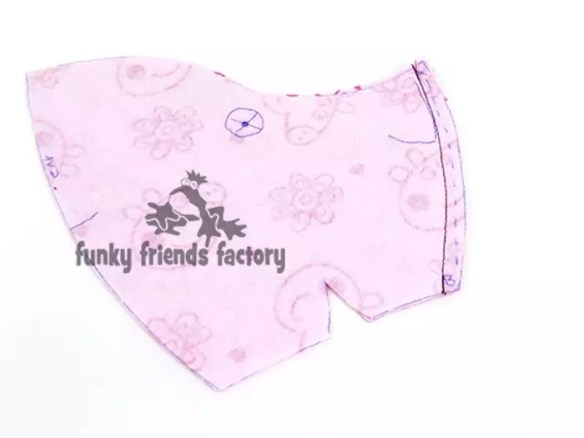
5: Sew Arms & Feet
Start by sewing on the foot pads and then move on to the inner arms and outer arm pieces as shown in the photo below. Make sure to sew the outer arms closed along the top, from V to a W.
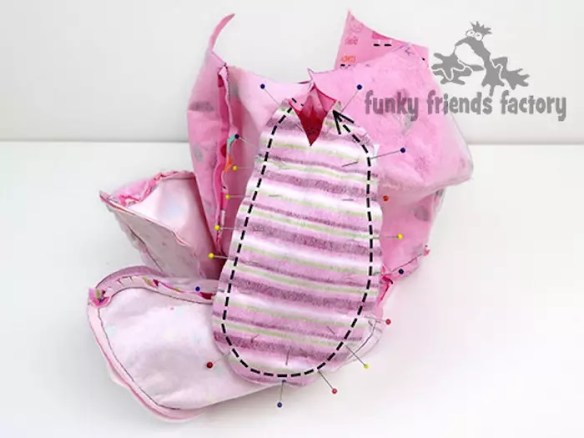
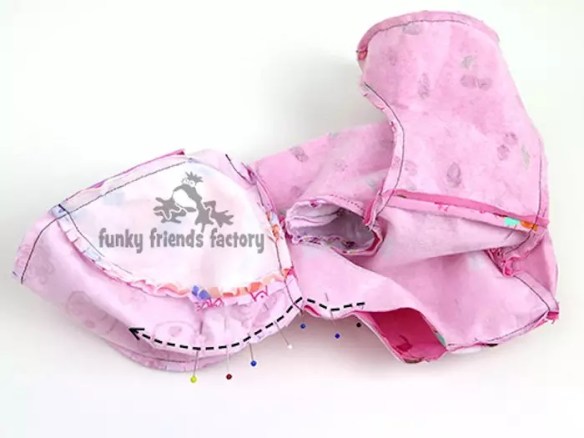
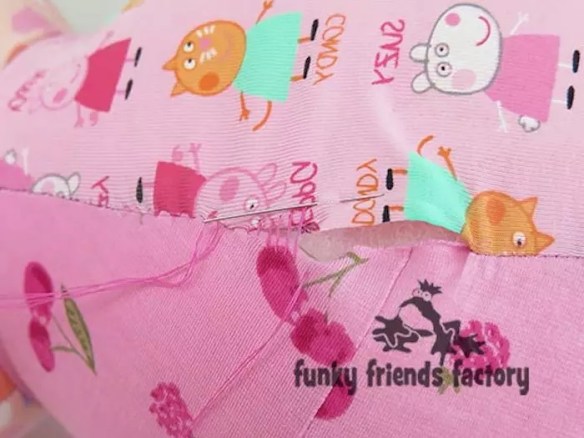
6: Join Head To Body
It’s time to put the two big pieces together. The best way to do this is to turn the head right sides out and position it ‘inside the body’ so you can pin the pieces together at the neck seam, with the fabric right sides together. Sew the head on and turn the bear right sides out through the turning gap. This is what it should look like at this point.
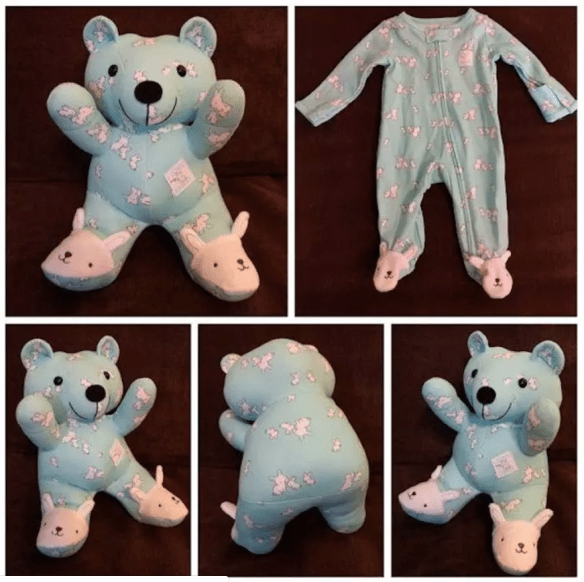
7: Stuff the Bear
Stuff the bear starting with the legs, arms, head, and then the tummy area last. Then stitch the gap closed on the back of the bear. Finally, cut the felt piece for the nose.
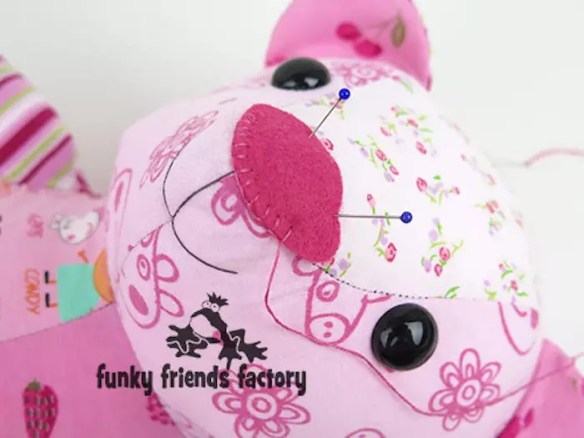
There you have it, your own memory bear that you made from scratch with your favorite baby onesie!