
Smart planning gets you the most value for your remodeling dollars
Your home is your greatest investment, and with proper care and management, it can be your greatest asset. The reasons for remodeling your home are numerous, but the fact that remodeling can add 40 to 60 percent to the resale value of your home can be extremely important. Not only will you get significantly more if you do sell down the road, but if you do this right, your credit could skyrocket and you could find yourself much freer to meet future goals with your increased buying power.
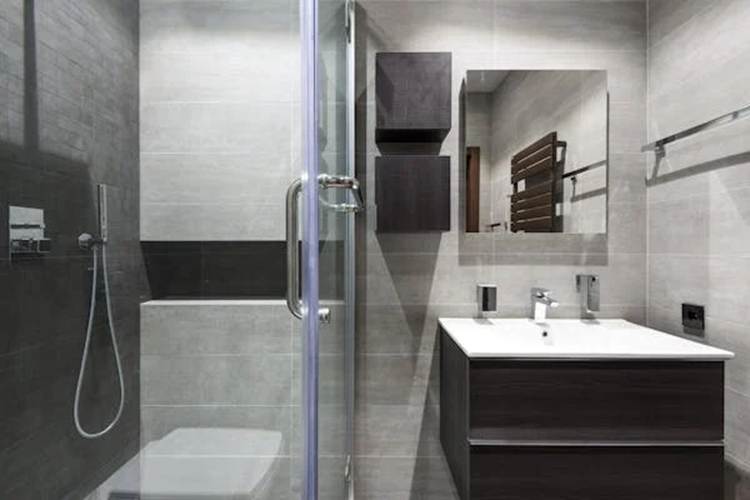
Perhaps your needs are changing, such as a new baby or elderly parents moving in. Maybe the layout of your kitchen has never been conducive to the way you cook. Maybe as you’re aging, you decide you’d like a shower instead of a bathtub, and while you’re at it, you’d like to reconfigure your bathroom sinks and counter space. Or is it that, after your last barbecue, you realized your deck and patio aren’t as safe as they should be?
You might want to remodel your home for any number of practical reasons, but it’s important to be practical, too, about planning not just for your dreams, but how you’ll afford those dreams. The last thing you want is to have to stop in the middle of a major project because you run out of money.
 | Begin by Determining Your Budget Any project you plan is only as good as your ability to pay for it. If you have savings earmarked for home remodeling, this is the best way because you won’t owe anybody anything. You could borrow against the existing equity in your home, take out a personal loan, or even use credit cards to earn rewards – each of these payment methods comes with its own costs and benefits and it makes sense to explore all your options before doing anything. |
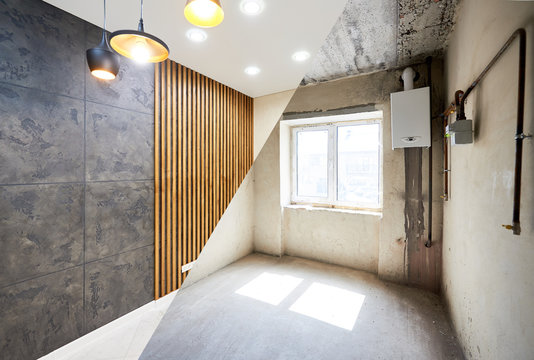
Once you know how much you have to spend, you can then begin considering how best to spend it. When you plan your remodel, leave a cushion for unexpected surprises that come up once demolition has begun, such as rot, pest infestations, and many more unseen drains on your budget. Consider, too, incidental expenses associated with your remodel, such as the cost of packing up, moving, and storing possessions, or hotel costs if you have to vacate the house for a while.
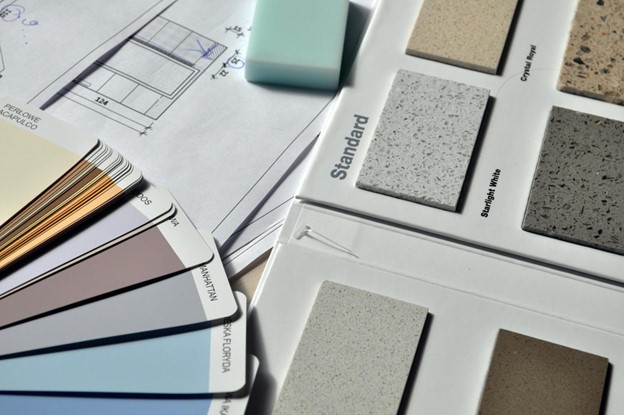
With a concrete budget in hand, you can now sit down and put your imagination to work: what is it you want to do? Start by brainstorming, letting your imagination run wild – what would you do if money were no object? From this list of dreams, begin prioritizing what changes you really need, such as that safe shower, versus what changes would be nice, but are not necessary, such as decorative touches like skylights. Also, don’t forget to budget for things like furniture and decor, which you may want to change once your beautiful project is complete.
Use one of the many remodeling cost calculators available online (your bank may offer such a feature with your account) to give you a rough idea of the average costs nationwide for each project. For example, the average cost of a bathroom remodel can be anywhere from $75 to $275 per square foot, or $10,800 – but that shower you want could cost $10,000 by itself. A kitchen remodel could cost as much as $30,000, or $75 to $250 per square foot.
Vet Your Contractors
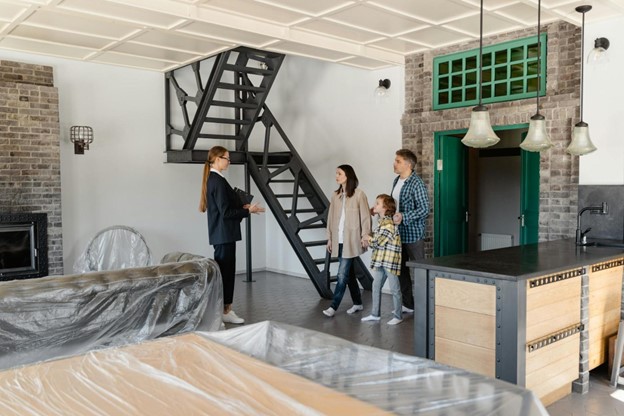
Extensive remodeling, which may require the modification of electrical and plumbing or the removal or relocation of walls, is best done with the assistance of vetted contractors. Seek recommendations from family, friends, and neighbors. Read reviews. Check the Better Business Bureau for any complaints against the contractors you’re considering. When they do a walkthrough with you to discuss your needs and wants, they’ll be able to help you figure out what changes you can really afford on your budget, and what may be out of reach.
The research you did with the remodeling cost calculator will be helpful background information for this meeting. Get at least three quotes so you can choose not only the best price but also the contractor who offers you the best protection for your job and with whom you feel most comfortable. Ultimately, the homework you do can make a difference in whether your budget covers the cost of your project.


