ACEO’s = What are they???

What ACEO is all about

ACEO stands for “Art Cards, Editions and Originals”. These cards have one main rule – they are 3.5 inches by 2.5 inches – the size of a trading card.
The reason for this is, of course, that Art Cards are made to be traded! But while artists were happily trading cards, the general public was left out in the cold, having no Art Cards to trade. A group of artists realized this, and quickly made their cards available for sale at remarkably low prices so that everyone could join in the fun!

Cards are also sold either as originals or editions. Make sure you know which you are buying! If it is a print it should say so, and it should be numbered and signed, usually on the back.

Art Cards can be a riot! Artists from all over the world are creating, and now selling these little gems in different mediums and of different subjects. Watercolor, Oil, Acrylic, Colored Pencil, Pastels, Pyrography, Pen and Ink, Sketching, Collage – the sky is the limit. Abstract, Surrealism, Outsider Art, Impressionism, Expressionism -every style you can think of – and then some!. Every interest and subject is covered! Extremely collectable Pocket Art, you can’t stop at just one!

Roasting Chestnuts

a    different nut    to    crack

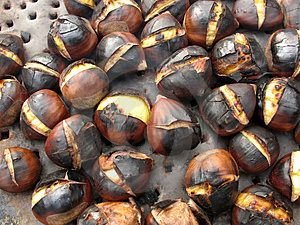
Soak chestnuts in a bowl of water for about 30 minutes; drain well. Cut a slit in the shell in the rounded side of the chestnut. Make sure the cut goes all the way through the shell; otherwise, they can explode.

To roast: Arrange chestnuts in a single layer in a chestnut pan. Place over an open flame; roast 25 minutes, shaking frequently.

To roast in the oven, arrange chestnuts on a baking sheet. Bake at 400° for 25 minutes.

To mi­crowave, arrange chestnuts in a single layer on a microwave-safe dish. Microwave at HIGH 2 min­utes. Microwave a maximum of 12 chestnuts at one time so that they cook evenly.

Let the chestnuts cool about 5 minutes. Peel.

Wooden Puzzle

Make your own wooden puzzles
The solutions to these classic brainteasers are bafflingly simple

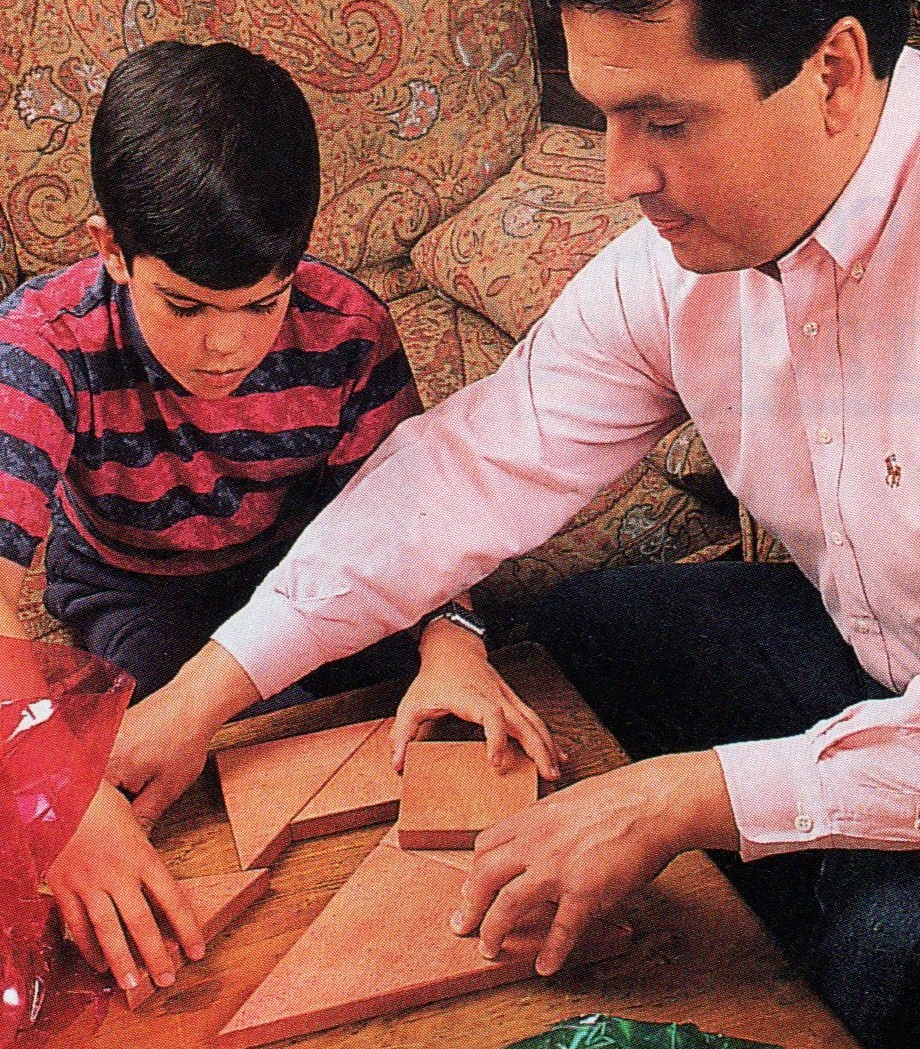
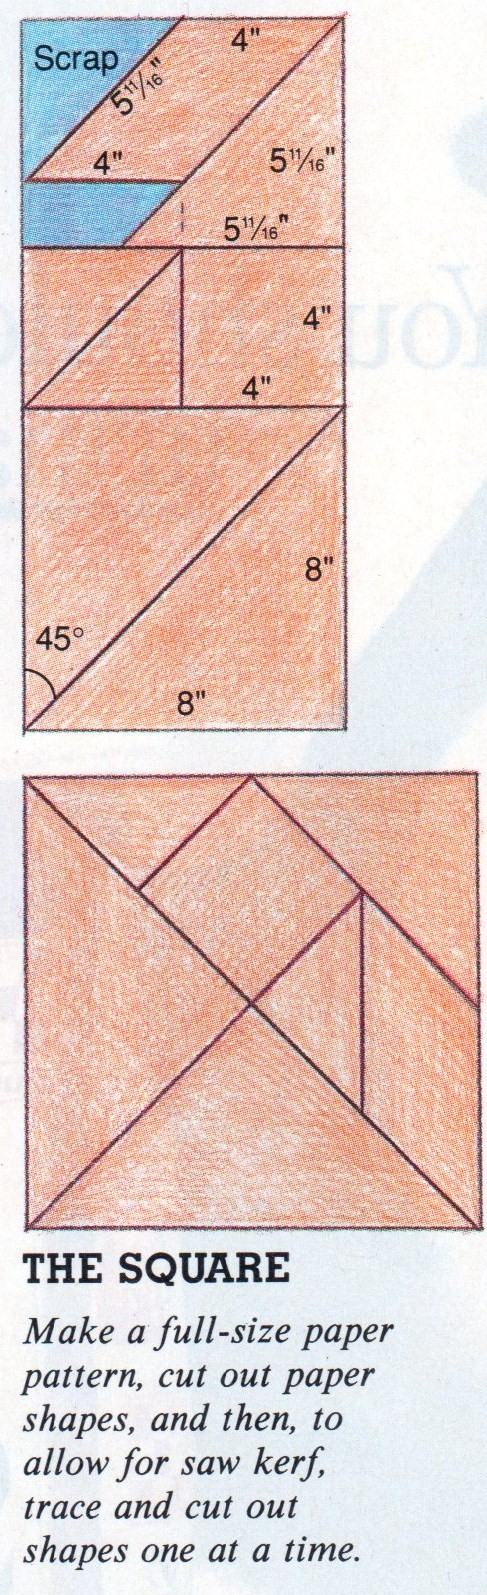
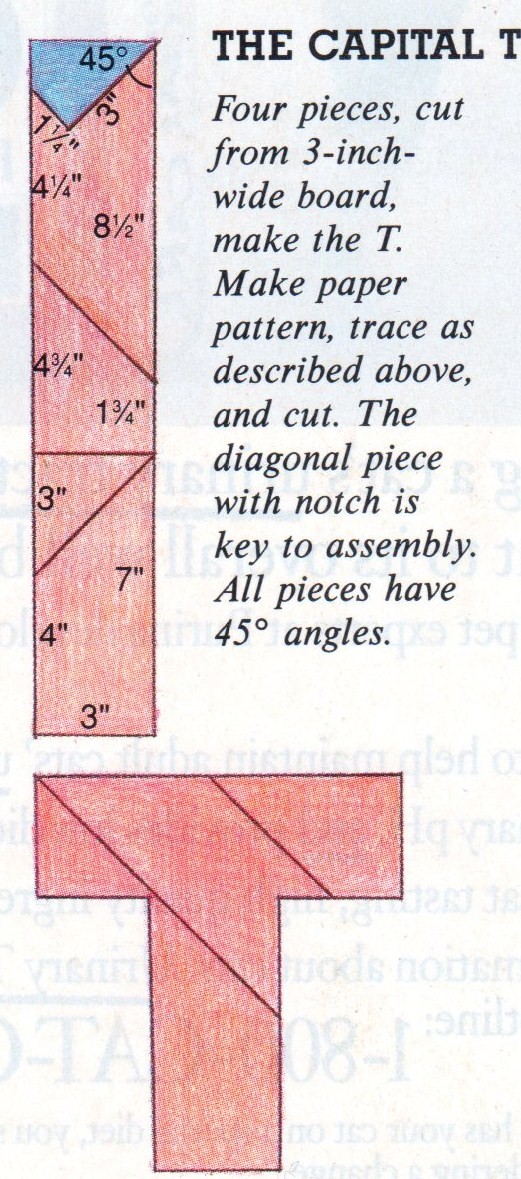
TWO CLASSIC PUZZLES challenge you to ar­range their geometric parts into a square or a capital T. They look easy to make but require careful planning and straight and accurate cuts.

Although similar puzzles are usually smaller, we made these a little oversize: the square has 11 Ma-inch sides, and the T is 10 inches tall. For durability and appear­ance, we made our puzzles from pieces of hardwood (ma­ple and cherry), but you can use any type of wood. You’ll need 2 feet of l-by-4 for the T and the same amount of 1-by-10 stock for the square.

If you don’t have a table saw, ask your lumberyard to rip the l-by-4 to 3 inches in width and the l-by-10 to 8 inches. From these, you can cut the puzzle pieces with a jigsaw or a handsaw. You’ll also need a sanding block, medium- and fine-grade sand­paper, a metal ruler, and a pencil. Sand and seal with paste wax.

Wooden Santa & Reindeer

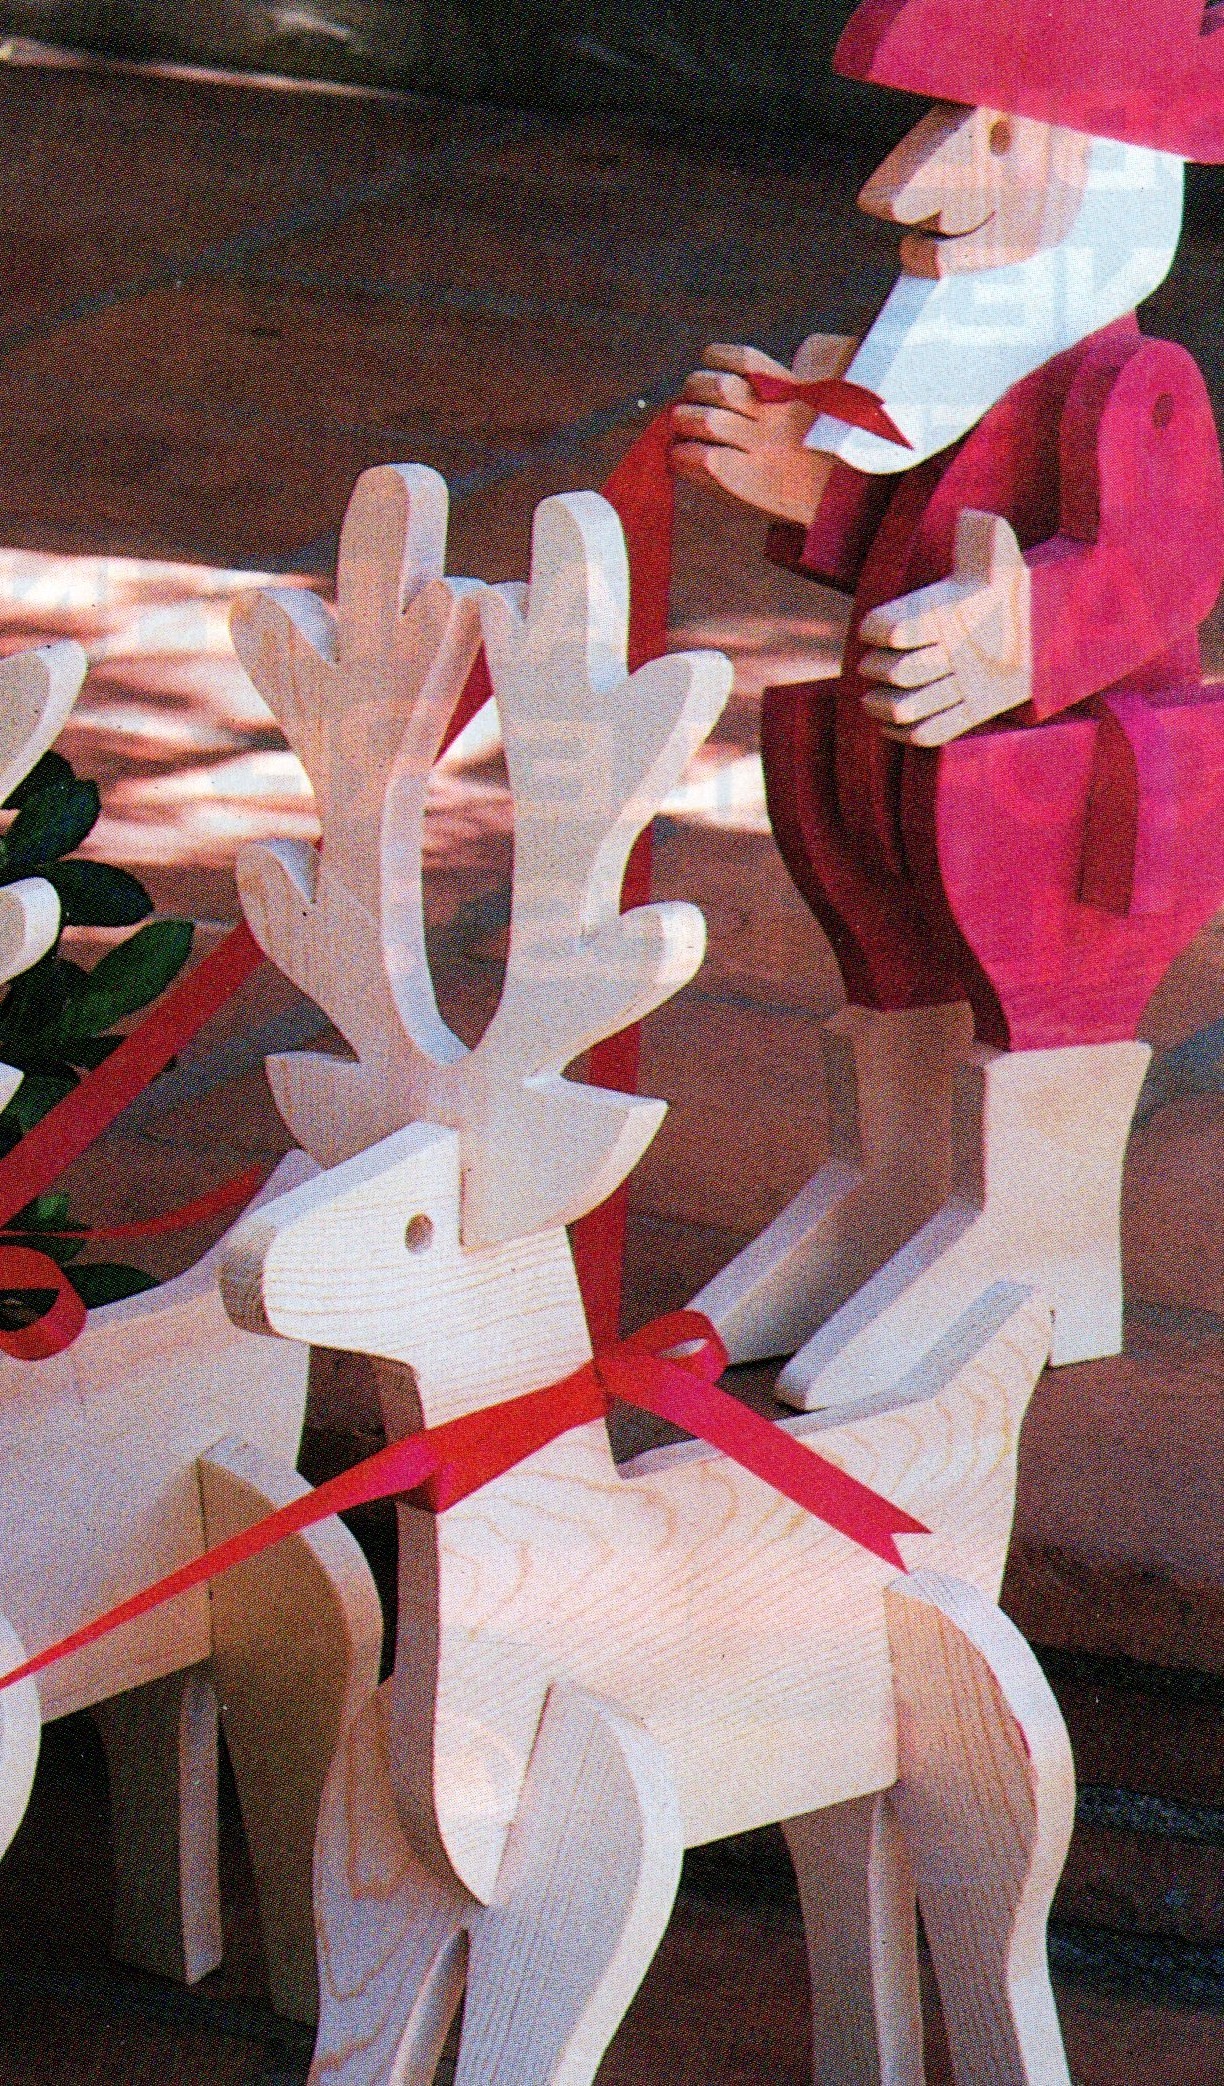
SET THE STAGE FOR SANTA’S arrival with these simple I slot-together wood figures. I Our Western Santa and his reindeer are cut from pine 1-by-12s, with notches that let you slip the fig­ures together for quick display.

To make the figures, you’ll need heavy paper; a saber, jig-, or band saw; a drill with a 1/2-inch bit; sandpa­per; and wood (about 4 feet of 1-by-12 per figure if you cut all pieces so they run with the grain, less if you cut smaller pieces across the grain). Our Santa’s arms pivot on a piece of 1/2-inch dowel, but you can glue them onto the body if you prefer.

Enlarge pattern on paper so each square equals 2 inches, then outline on wood. Make notches no wider than wood’s thickness so figures stand properly. Cut pieces, drill ‘/2-inch holes for eyes and arms, and sand. Sand as needed to widen notches.

Finish the figures with paint or stain, or leave them natural. We painted the white beard on our Santa. For his clothes and cowboy hat, we applied red paste shoe polish to let the grain show through. Use masking tape to keep lines precise.

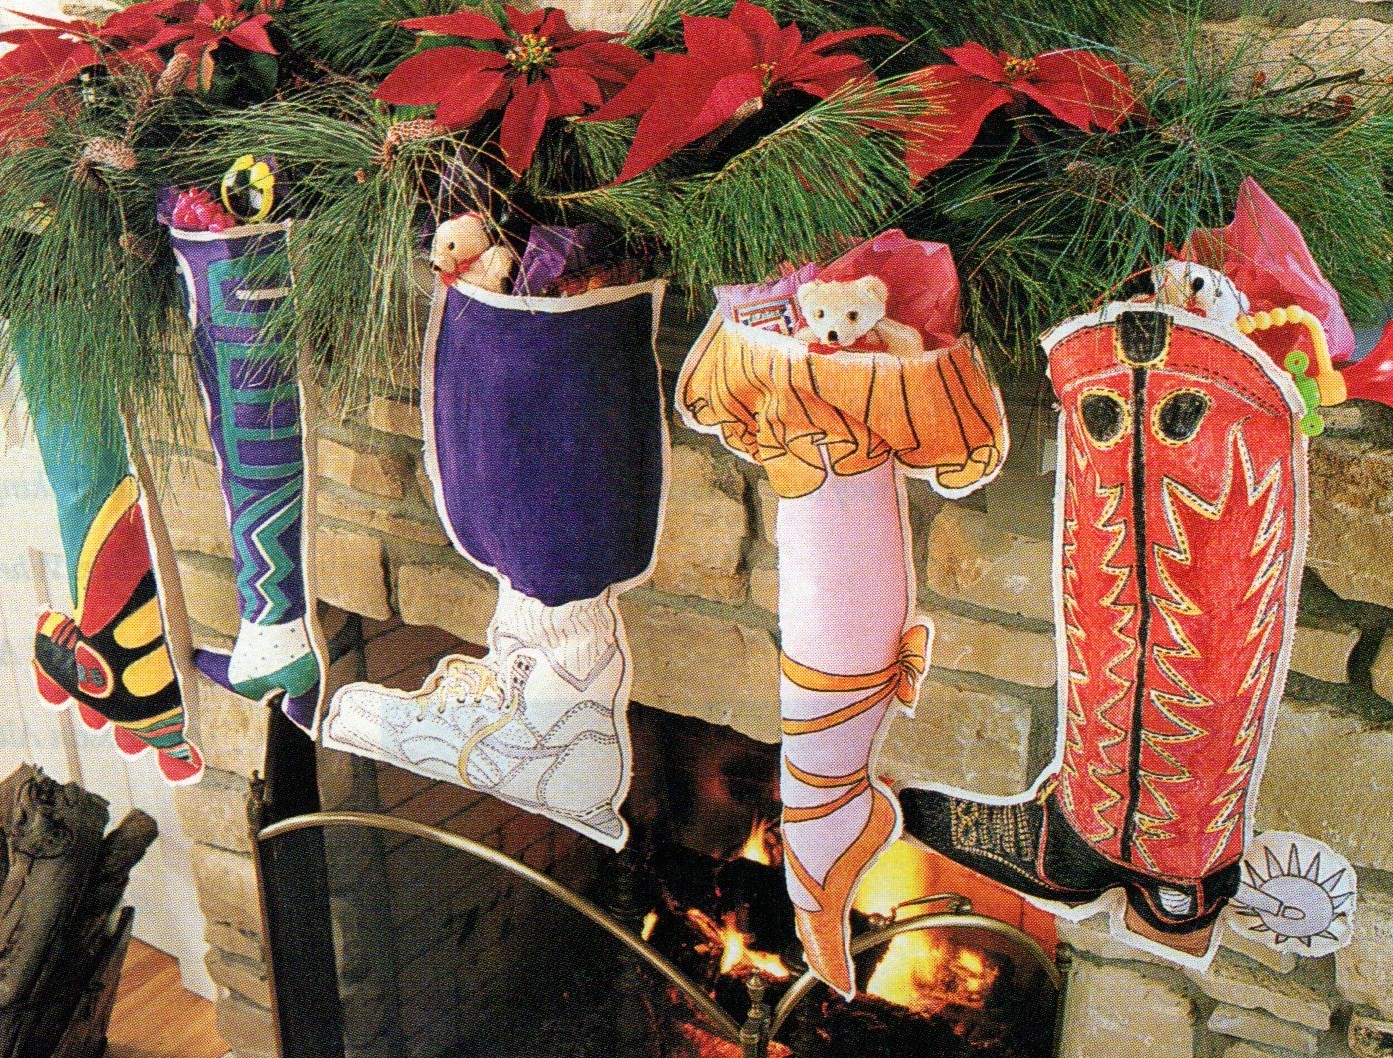
Christmas Stocking Of Every Style

A shoe-stocking for everyone

Here’s your chance to cobble Christmas shoe-stockings that play up the interests or per­sonalities of family members. Whether you have a young ballerina, cowboy, basketball star, or other sport or hobby enthusiast, there’s a style that fits. Copy our examples, work from other shoe styles, or invent imaginary footwear. No names need go on these stockings—one look announces for whom they’re intended.

To construct each stocking, start with a piece of off-white artist’s canvas that’s been folded in half. On the top layer, draw the shoe outline and details lightly with pencil, then trace over the lines with permanent markers meant for fabric. Next, paint between the lines with fabric paint.

With the cloth still folded in half, pin through both layers of canvas. Cut around the shoe image, leaving a 1/4  to ‘/2-inch border. Stitch the halves together 1/4 inch from edge, leaving the top open. Zigzag-stitch around the border and along each top edge.

For easy hanging, stitch a loop of sturdy ribbon to the top of the back of each stocking. Finally, stuff the foot with tissue paper or a soft, space-filling gift to give the shoe a three-dimensional look.