Ribbon Storage

To demonstrating this project to you we show it uncovered... but you can cover it with fabric, paper, paint etc. This can also be made with any type of box or hinged container you can find at a dollar store!

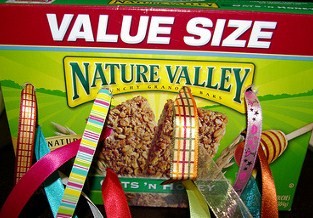
I became so tired of spools of ribbon coming undone and digging through drawers to see if I had ribbon that matched that I made a storage/dispensing box for my ribbon spools. The plus side of these boxes is that the ribbon stays neat and organized, you can see what you have a glance, the ribbon pulls right through the hole in box (no need to open lid to use), and because they are covered in the fabric of your choice, they can fit into any decor without being obvious.

Directions:
1. 1 shallow box. Baby-shoe boxes work well.
2. Spray box and lid with spray adhesive and cover with fabric of choice.
3. Using a razor blade to cut a narrow dowel rod the length of the box.
4. Thread spools of ribbon on the dowel rod.
5. Using a hole punch, punch as many holes as you have spools of thread/ribbon down the length of box.
6. Place dowel rod with spools of ribbon in box and thread an inch or 2 of each ribbon through hole.
7. Replace lid on box.

Easy Home Made Ketchup

EASY HOMEMADE KETCHUP:

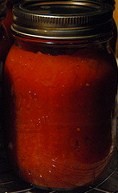
I ran out of my stockpiled ketchup, so I finally tried a homemade ketchup recipe. It was quick, easy and delish!

6 ounces can tomato paste
3/4 cup water
1/2 cup brown sugar
1/2 cup vinegar
1 teaspoon garlic powder
1 teaspoon onion salt
1 teaspoon sugar
1 teaspoon salt

Combine ingredients in a medium saucepan. Bring to a boil and simmer for 20 minutes. Cover pan with lid until cool. Place in recycled ketchup bottle and chill.

Simple Play Dough You Make Yourself

2 tablespoons cream of tartar
1 tablespoon vegetable oil
1 cup flour
2 teaspoons food coloring
1 cup water
1/2 cup salt

Cook on stovetop over medium heat for 4 minutes.

Make Your Own Fingerpaints

WHAT YOU NEED
From the supermarket:
• One package Knox plain gelatin
•  1/2 cup cornstarch
• Joy dishwashing liquid
• Six clean, empty 4-ounce baby food jars
•  Food coloring From the kitchen:
• Two mixing bowls
•  Spoon
• Measuring cup
• Pot From the tap:
• Water

WHAT TO DO
In a mixing bowl and using a spoon, mix the packet of powdered gelatin mix with V4 cup water until dissolved. Set aside.

In a pot, mix the cornstarch with 3A cup water. Add 2 cups hot water and mix well. Heat the pot on a stove, bring-
ing the mixture to a boil while stirring constantly. When the mixture becomes clear and thick (after one to two min­utes), remove the pot from the heat. Pour in the gelatin mixture. Mix well, then pour equal amounts of the mixture into the six baby food jars. Add one drop of Joy dishwashing liquid to each jar.

In the first jar, add five drops of yel­low food coloring and mix well. In the second jar, add five drops of red food coloring and mix well. In the third jar, add five drops of green food coloring and mix well. In the fourth jar, add five drops of blue food coloring and mix well. In the fifth jar, add four drops of yellow food coloring and one drop red food coloring, and mix well. In the sixth jar, add three drops red food coloring and two drops blue food coloring, and mix well. Let cool.

You’ve created finger paints that can be used on heavy white paper. To store, seal the lids on the jars.

Faux Wrought Iron Decorations

I mentioned to my family that I’m collecting toilet paper tubes for use on some projects that were bouncing around in my head.  And an odd thing happened.  At every family function, every dinner party, every chance meeting since then, I have been inundated with toilet paper tubes.  They hand them to me when I least expect them, neatly packaged in Kroger bags, fully confident that whatever I have in mind for them is worth the extra effort.  At Christmas, I was given a bag of them along with my Christmas present.  Kinda nice, but apparently when folks look at me right now, they think of toilet paper tubes.  Not sure if that is a good thing or not.

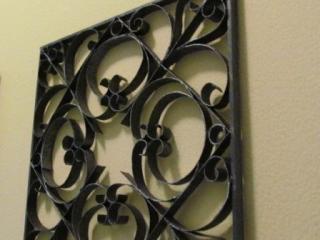
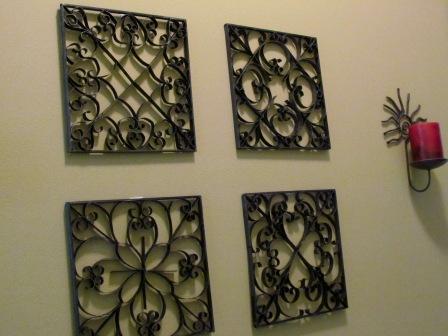
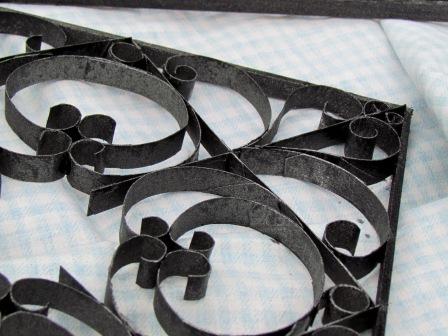
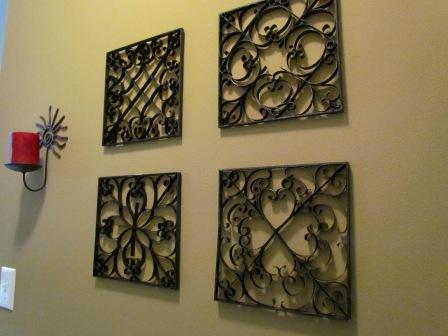
Anyway, I decided to try my hand at mixing some quilling techniques and toilet paper tubes to come up with some faux metal wall art to spice up my Southwestern theme kitchen.
For this project I used:
A large amount of toilet paper tubes
Several Paper Towel Tubes
Aleenes Tacky Glue
Metal look Spray Paint
3/8″ Balsa Wood strips
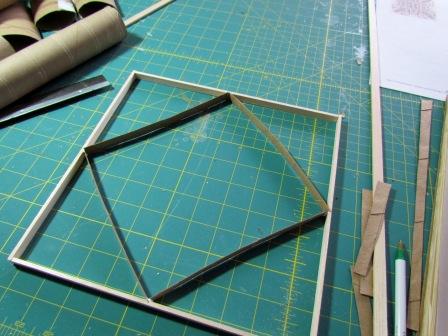
I started by cutting the 3/8″ balsa wood strips into 10″ long pieces to form my squares and then glued them together with tacky glue.
The paper towel tubes were used for the straight pieces.  I simply cut along the length of the tube, flattened it out and used a scrap of the balsa strips to measure 3/8″ strips cut lenthwise from the tube.
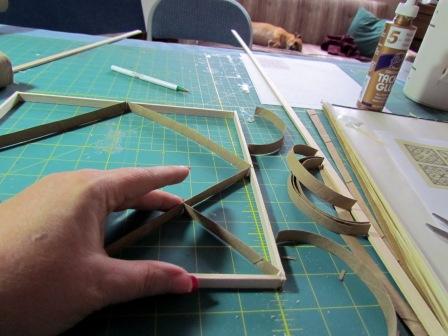
The toilet paper tubes were cut in 3/8″ strips across the width of the tube to keep the curl.  Simply cut along the length of the tube, flatten out and mark 3/8″ strips across the width.  This will result in 3/8″ curls.
Using some examples that I found on the internet of wrought iron wall art, I created four 10″ squares.

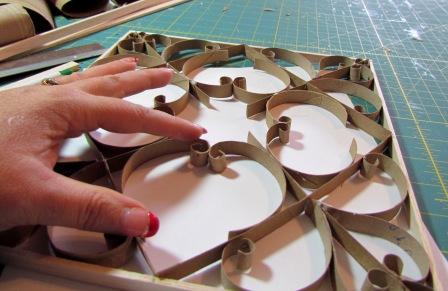
I curled the cardboard with the end of a paintbrush where I wanted curls and used the tacky glue to glue it as I went.
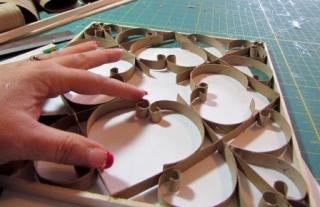
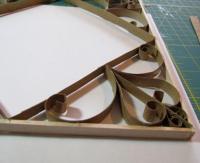
With these squares, I started by dividing it into four equal parts and then creating the same pattern in each part. I simply created as I went and used the end of the paintbrush to make any curls needed.

Once they were completed and dry, I then spray painted them with metal-look paint.  Unless you get up close and personal and actually touch them, they look totally like metal.  But didn’t cost nearly the price.
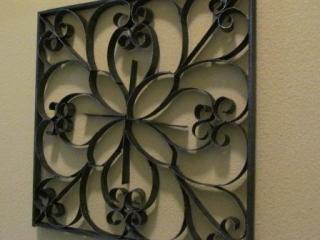
I now have fancy looking wall art and spent next to nothing to make it.  In fact, my toilet paper loving family actually provided most of the materials.  You can’t beat that!