©Jeffrey Scott Thomas – 2019
First, I must say that I am by no means an expert at making a cake. I am learning and this cake does have errors. I learned by seeing mistakes in the final product.
My son was having a baby, now born and almost a month old name Elizabeth Rose Thomas, and he loves penguins. So by request he wanted a penguin cake. Now, how was I going to do that I wondered? I didn’t want to just go with a sheet cake – this is my grandbaby we are talking about. I had to do something 3-D. So my investigation on how to create it started.
I found a website that shows different cakes made from the Wilton teddy bear stand up pan. I had access to one of these and decided it was going to work. With a little cutting of the cake it could work – I hoped!
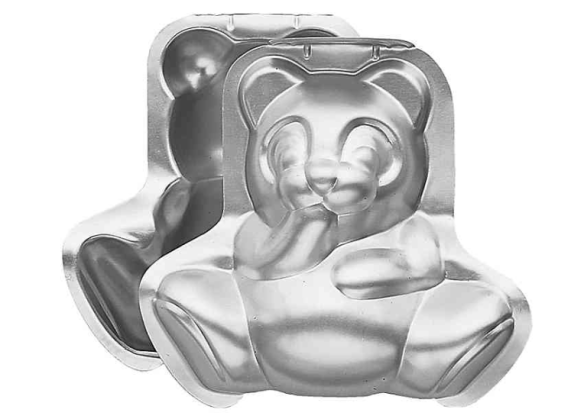
I decided to use the cake lying on its back like a baby on an iceberg. So I would have to use Wilton pans that were the circles and ten inches and two inches deep. I would need two of these at two inches high each to give me room to cut the cake to form the iceberg. I would also need to make the teddy bear cake and that would need some cuts as well.
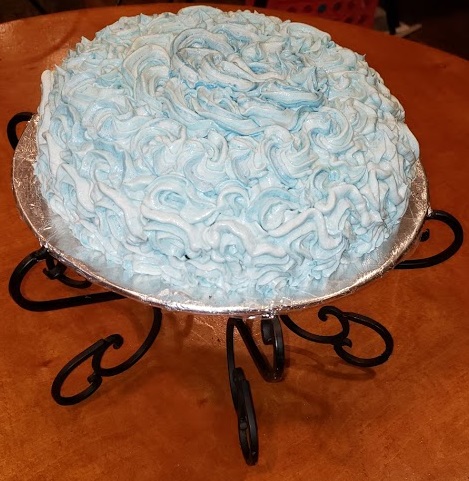
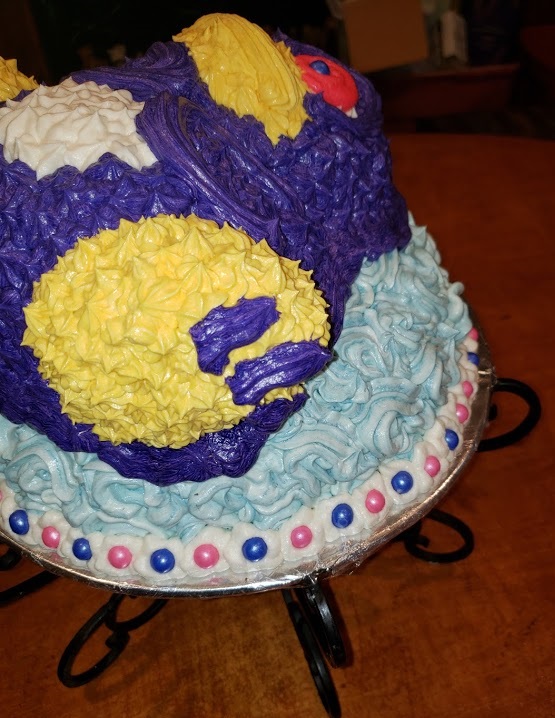
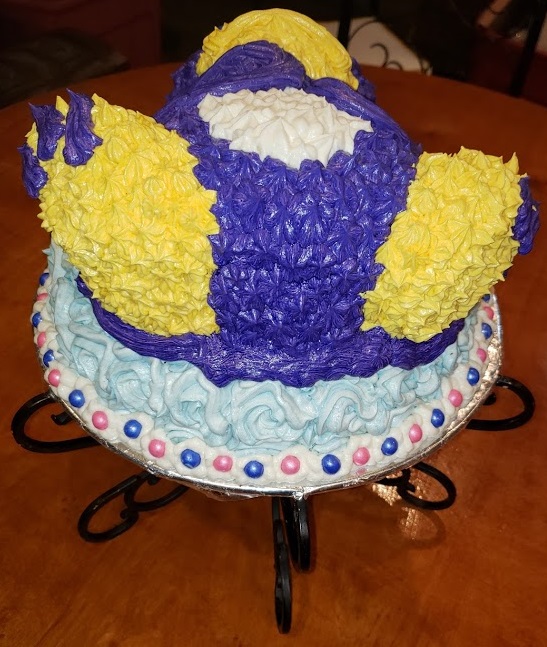
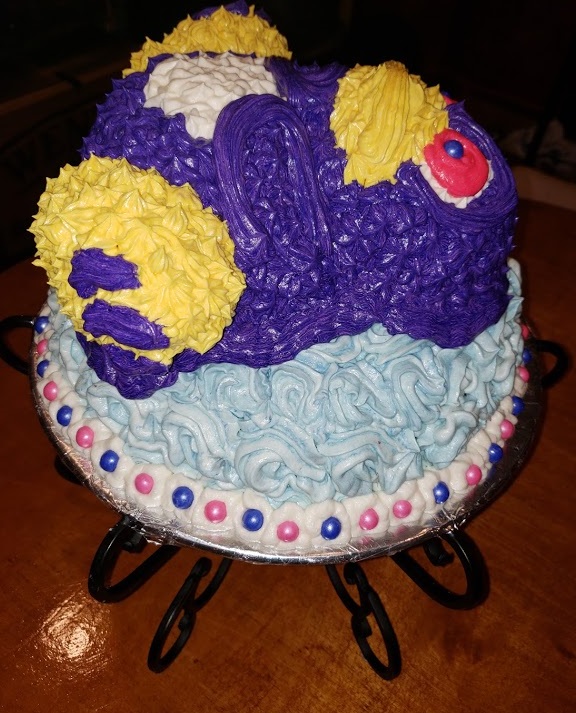
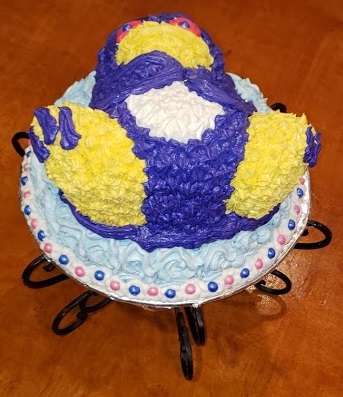
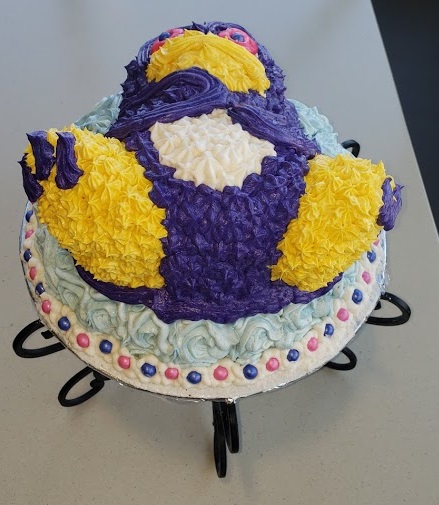
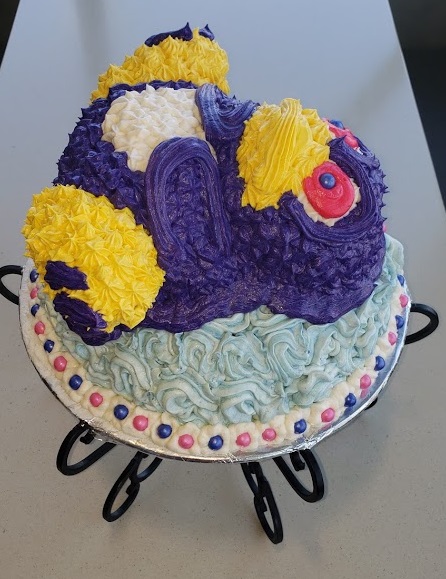
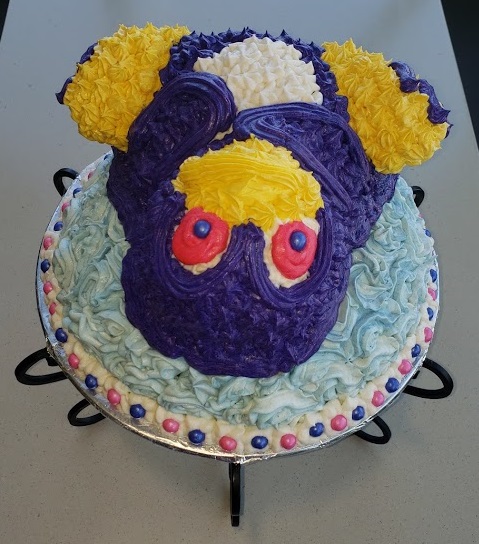
I used a cake stand I had already had and covered it with foil. I added a scoop of icing on top to help the cake not slide. I added the one layer and then covered the top with a thick layer of buttercream icing. I put the other layer on top of that and pushed down slightly. I then carved the cake to be a half dome but with the top having a bit of a more flattened side so the penguin could sit on top. I iced this using white buttercream icing with an icing bag that I wiped several variations of blue onto the inside of the bag so that when the icing came out the white icing has blue hues to it. I didn’t want it to be all white or all blue. Icebergs have a natural blue and sometimes green hue to them. It came out really nice.

©Jeffrey Scott Thomas – 2019
©Jeffrey Scott Thomas – 2019
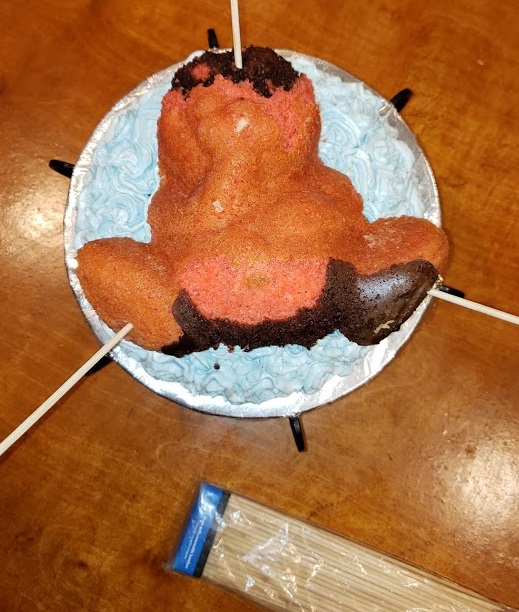
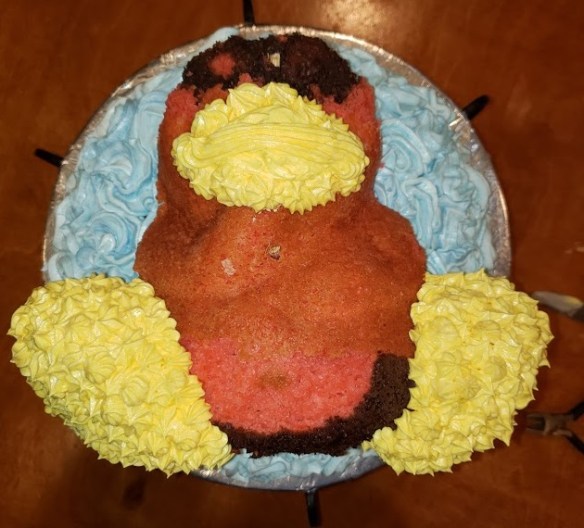
I then made the teddy bear cake to directions. I carved off the ears and a bit of the snout. I also cut down the back so it had a flat surface so it would rest evenly on top of the iceberg. I placed the penguin cake down on top of the already iced ice berg. I immediately added thin wooden dowels through the feet, arms, head and belly. I pushed them all the way to the cake board. I then trimmed them to the level with the cake.
©Jeffrey Scott Thomas – 2019

©Jeffrey Scott Thomas – 2019
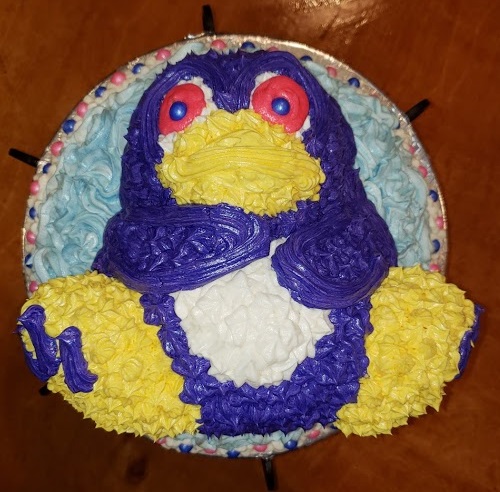
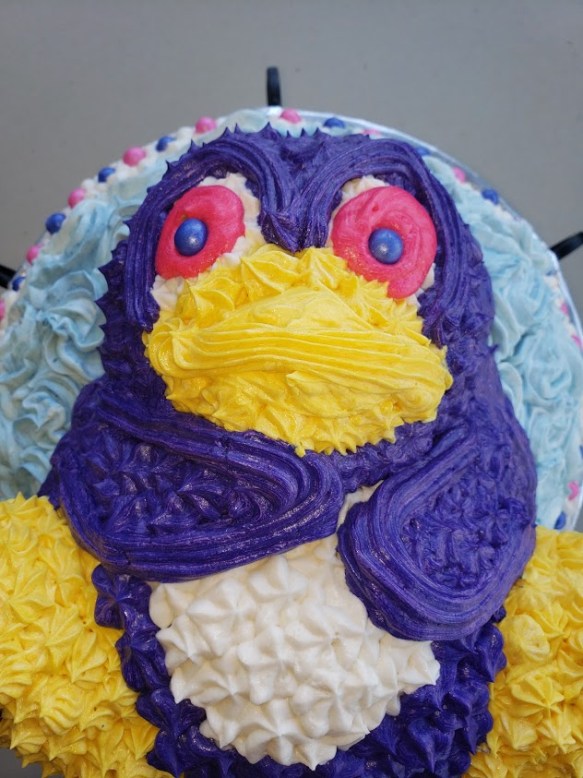
I then used yellow icing and a wide star tip to cover the feet and beak. I mention wide because I would uses a smaller tip next time. I iced the white belly. I iced the purple (which came out really darker then I wanted but made the mistake of tinting too much icing and wasn’t going to remake it). I then added the eyes which again came out darker than planned. I piped a border around the bottom of ice berg and border around the area where the penguin joined the ice berg. I added candies to the bottom border and to the eyes. Used a nice little cake decorating set I found that has bags and tips and everything you need to decorate this cake.
©Jeffrey Scott Thomas – 2019
©Jeffrey Scott Thomas – 2019
©Jeffrey Scott Thomas – 2019
©Jeffrey Scott Thomas – 2019

©Jeffrey Scott Thomas – 2019
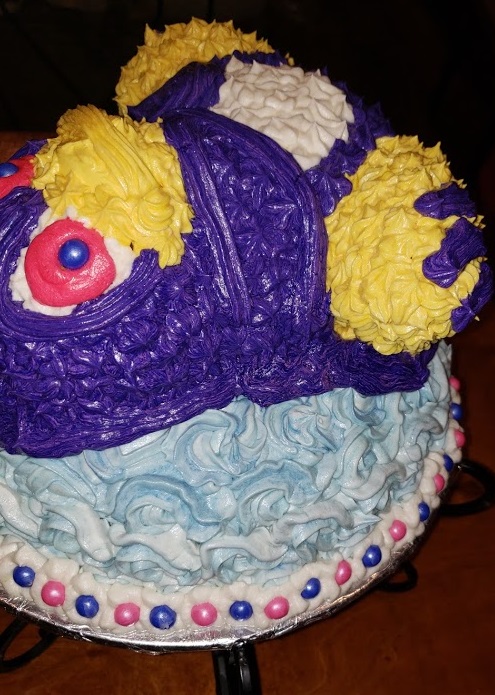
©Jeffrey Scott Thomas – 2019
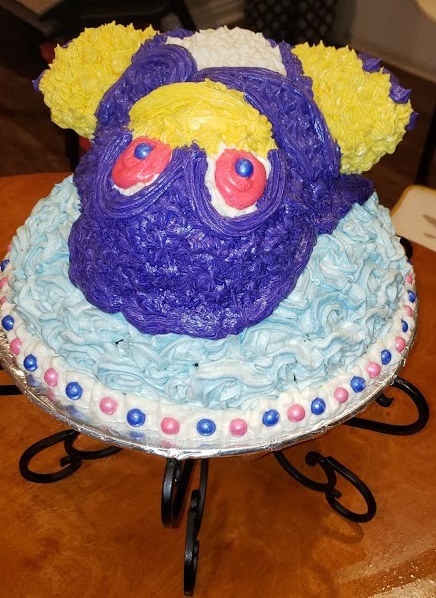
©Jeffrey Scott Thomas – 2019
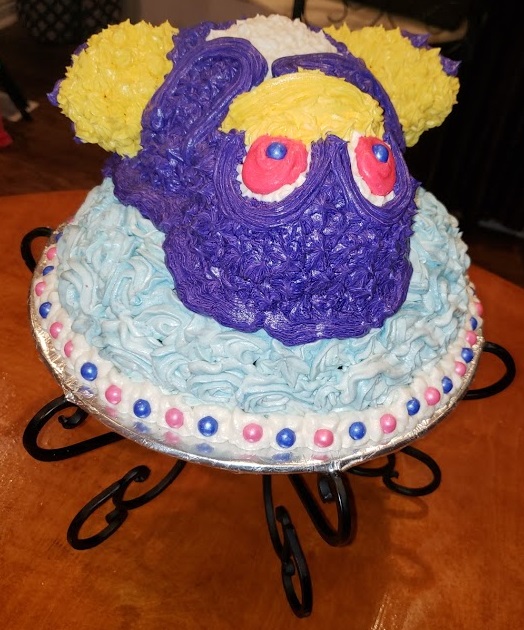
©Jeffrey Scott Thomas – 2019
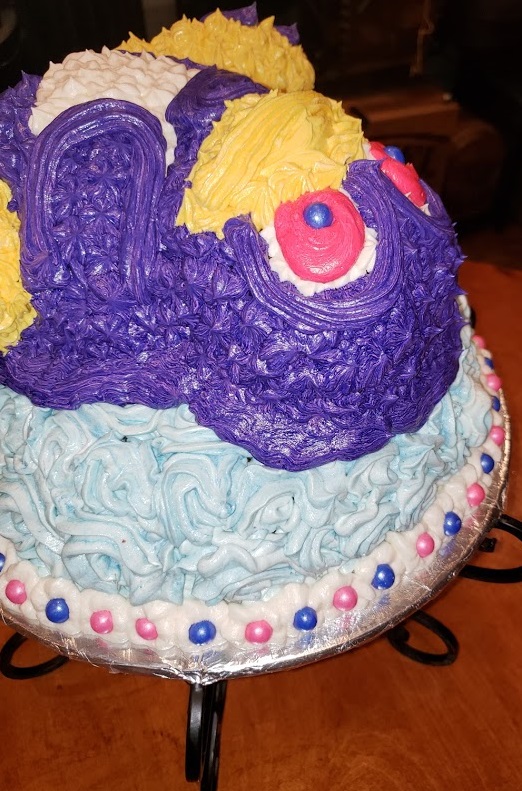
©Jeffrey Scott Thomas – 2019
©Jeffrey Scott Thomas – 2019

©Jeffrey Scott Thomas – 2019
©Jeffrey Scott Thomas – 2019

©Jeffrey Scott Thomas – 2019

©Jeffrey Scott Thomas – 2019
©Jeffrey Scott Thomas – 2019
©Jeffrey Scott Thomas – 2019
©Jeffrey Scott Thomas – 2019

©Jeffrey Scott Thomas – 2019
©Jeffrey Scott Thomas – 2019

©Jeffrey Scott Thomas – 2019
To top it off I used a little pink fabric bow that is just hand made to add to the top to give it a bit more of a girl appearance since the purple icing came out darker than planned and looked more like a boy. I then wish I had sprinkled iridescent edible glitter on top to give a sparkling finish.
*****WHITE CHOCOLATE BUTTERCREAM ICING *****
10 MINS * MAKES 2 3/4 CUPS
Creamy, sweet, and perfect for any treat, you’ll want to make this frosting for all of your favorite cakes.
Ingredients:
2 sticks (1/2 pound) unsalted butter, softened 12 ounces white chocolate, melted and cooled slightly 1 cup confectioners’ sugar 1 teaspoon pure vanilla extract.
In a Kitchenaid mixer (or one like it or a hand mixer can do with a little extra attention to making sure it has no lumps) beat the butter at medium speed until creamy. Beat in the melted white chocolate. Add the confectioners’ sugar and vanilla and beat at low speed, scraping the sides and bottom of the bowl, until light and fluffy.
*****CAKE MIX***** I used box Duncan Hines Devil’s Food Cake (Chocolate) and Strawberry and followed directions.
If you like this post and want to share it then click the service!